Overview
You can install and work with Kerio Connect on a Virtual Appliance. In Kerio Connect VA, you can configure the SSH, server time, and firewall settings; enable KIMT communication; upgrade the appliance manually; set up Kerberos User Authentication; add or expand the storage partitions; add or change the system locales.
A virtual installation is suitable if the physical hardware is not ready for the installation, or if it does not meet the system installation requirements.
Prerequisites
Environment
Download the preferred file (ovf, vmdk, VMware) for Virtual Appliance
Complete These Tasks Before You Begin
Perform the following steps before you begin:
-
Install the Kerio Connect Virtual Appliance with a standard Debian GNU Linux 8.11 (x86-64) distribution.
-
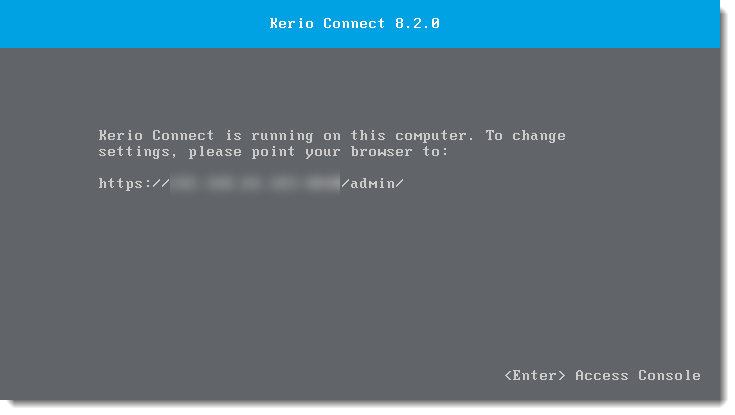
Complete Initial Kerio Connect Configuration.
-
If you see a blue Kerio screen after Kerio Connect is installed, this is the Debian version.
Enabling SSH Console
-
Press Alt + F2 to switch the visible console to another terminal (TTY) screen.
-
Log in as root. The default password is kerio.
-
Change the password after the first login.
Note: A forgotten password cannot be retrieved.
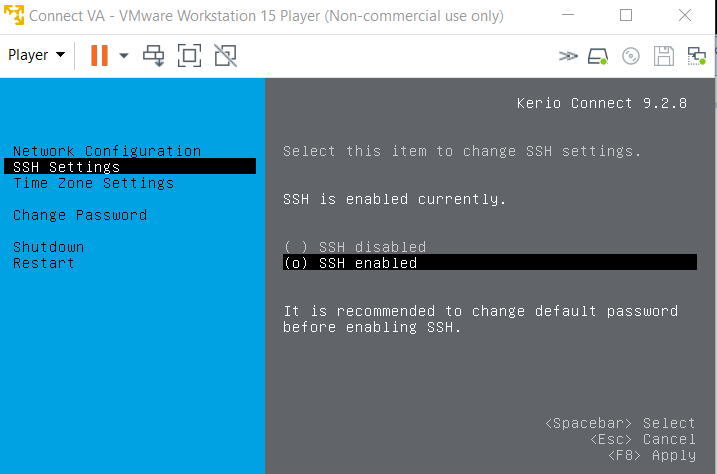
-
Enable SSH. For Kerio Connect 7.4 and newer, enable the SSH client directly from the Kerio Connect console.
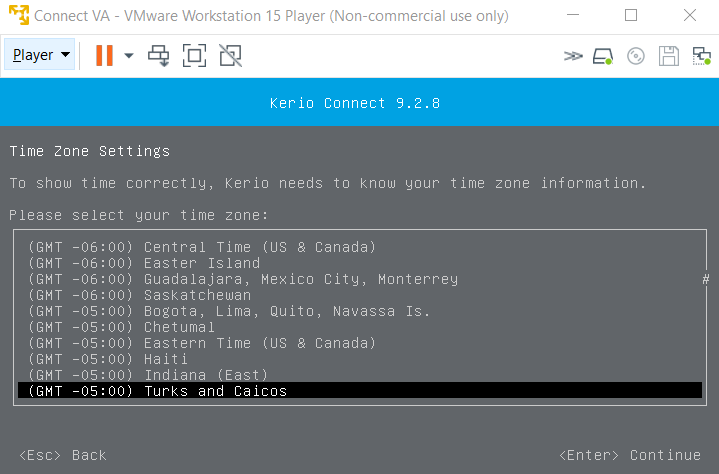
Changing the Server Time Settings
The default system time zone is UTC (GMT +0). For Kerio Connect 7.4 and newer, you can set the time settings in the Kerio Connect console.
For Kerio Connect 7.3 and older, follow these steps:
-
Log in to the system console.
-
Configure the time zone using the following command:
dpkg-reconfigure tzdata
-
Reboot the server using the following command:
reboot
Changing the Firewall Settings
-
Access the system console.
-
Edit the firewall configuration file
/etc/ufw/kerio-connect.ufwusing a text editor by using a command similar to the following example:vi /etc/ufw/applications.d/kerio-connect.ufw
-
In the
ports=section, add the ports you want to open. For example:ports=80|25|110|443
-
Reload the firewall with the following command:
ufw app update kerio-connect
- To allow the Kerio IMAP Migration Tool (KIMT) communication, execute the command below:
ufw allow 44337
-
If you are changing firewall rules remotely over SSH, restart the firewall service with the following command:
/etc/init.d/ufw restart
Note: This may interrupt your current SSH session, and you will need to reconnect if you have further work to do.
Add System Locales
For Kerio Connect 7.4 and newer, the required system locales are added automatically. For Kerio Connect 7.3 and older, en_US.UTF-8 is the default locale. To change it, follow these steps:
-
Log in to the system console.
-
Run the configuration wizard for the locales:
dpkg-reconfigure locales
-
Select the locale you want to install. Always use the UTF-8 version (for example, cs_CZ.UTF-8, de_DE.UTF-8, etc.).
-
Select a default system locale.
-
Confirm your selection.
- (Optional) For Kerio Connect Ubuntu installations, you might receive the following error in the logs:
[23/May/2019 09:03:20] Locale support for language en (en_US.UTF8) is not installed on the system: locale::facet::_S_create_c_locale name not valid
To resolve this, execute the following commands in this order:
-
apt-get install locales
-
locale-gen en_US.UTF-8
Note: Replace en_US.UTF-8 by the necessary language code.
-
update-locale LANG=en_US.UTF-8
-
reboot
-
Modify System Locales
-
Log in to the system console.
-
To change the locale, for example to German, run the following command:
sudo update-locale LANG=de_DE.UTF-8 LC_MESSAGES=POSIX
-
Get a list of available locales by running the following command in the system console and verify the modification:
locale -a
Related Articles
Expanding storage of the Kerio Connect Virtual Appliance
Configure Kerberos User Authentication in Kerio Connect Virtual Appliance
Priyanka Bhotika
Comments