Overview
You may face issues connecting to Kerio Control using Windows 10 native VPN Client and a preshared key or a certificate. This article describes how to configure Kerio Control and Windows VPN client properly.
Prerequisites
The following ports need to be allowed on the router, and forwarding needs to be enabled for them:
- TCP/UDP 4090
- TCP/UDP 4081
- TCP/UDP 500
- TCP/UDP 4500
Process
Configuring Kerio Control
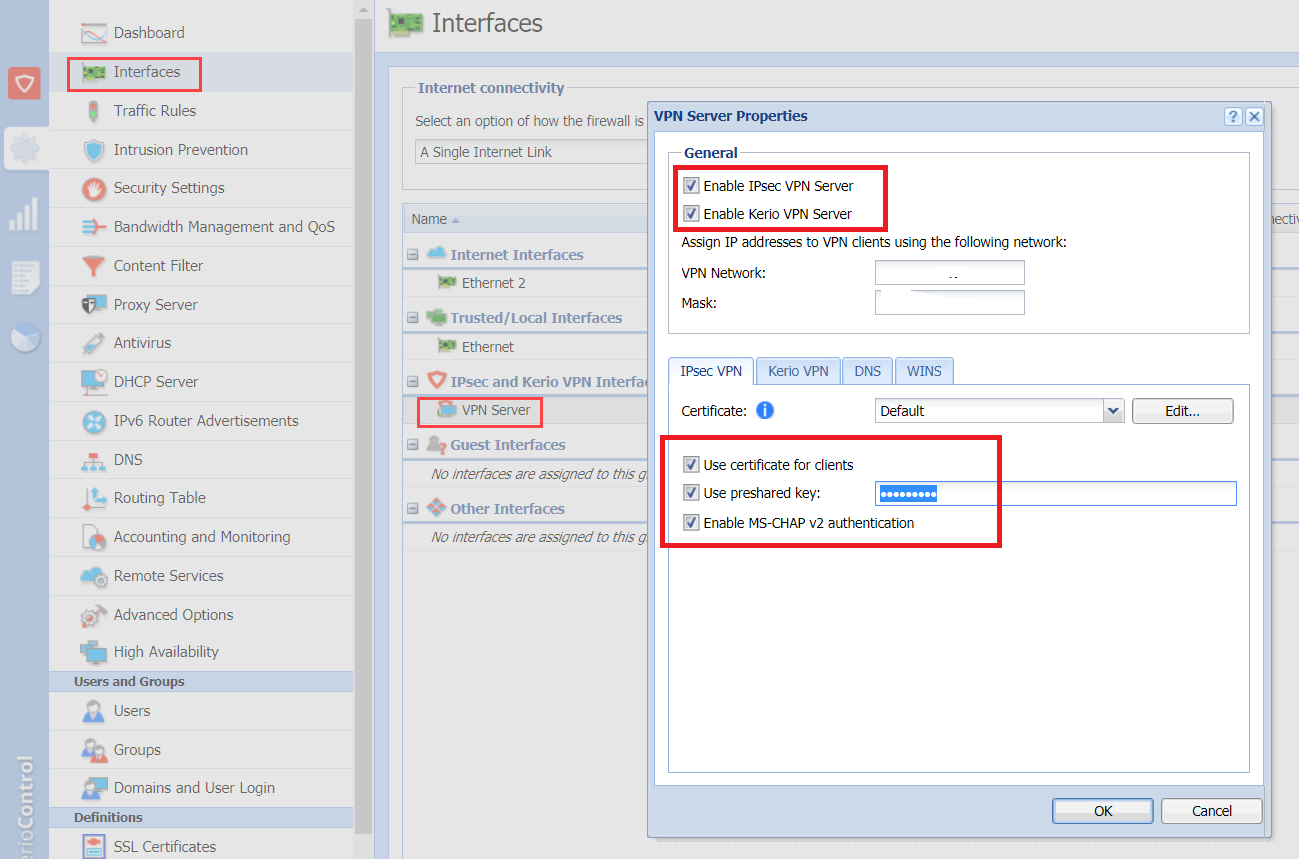
- In Kerio Control Webadmin, navigate to Settings (Gear Icon) > Interfaces > VPN Server Properties.
- Check the following options:
- Enable Kerio IPsec VPN Server
- Enable Kerio VPN Server
- Use certificate for clients
- Use preshared key (also, you need to enter the key in the corresponding field)
- Enable MS-CHAP v2 authentication
- Click OK, and navigate to the Traffic Rules menu.
- Ensure that the default rule named VPN Services exists and is active to allow VPN access.
- Navigate to the Users menu and ensure that the option User can connect using VPN is enabled for the corresponding user.


Configuring VPN Settings on the Client Windows 10 System
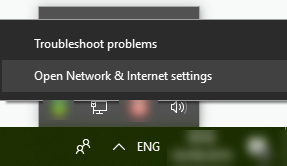
- Open Network & Internet Settings.
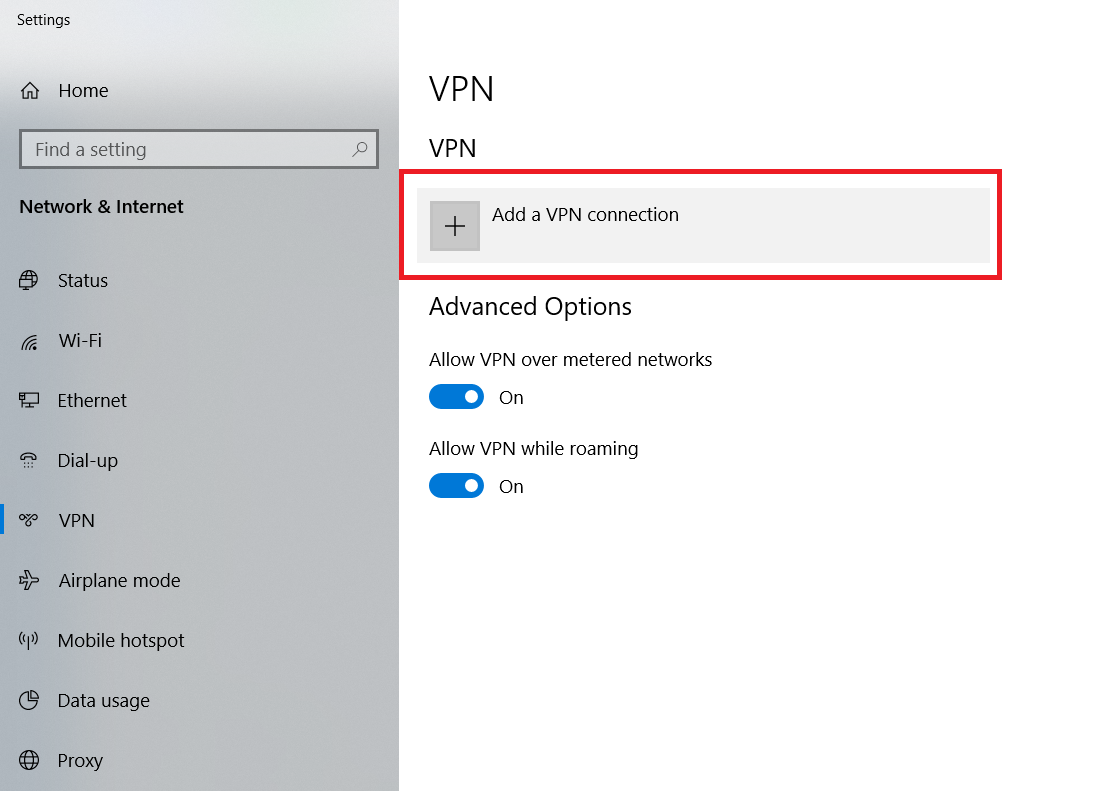
- Navigate to the VPN menu, and click Add a VPN Connection.
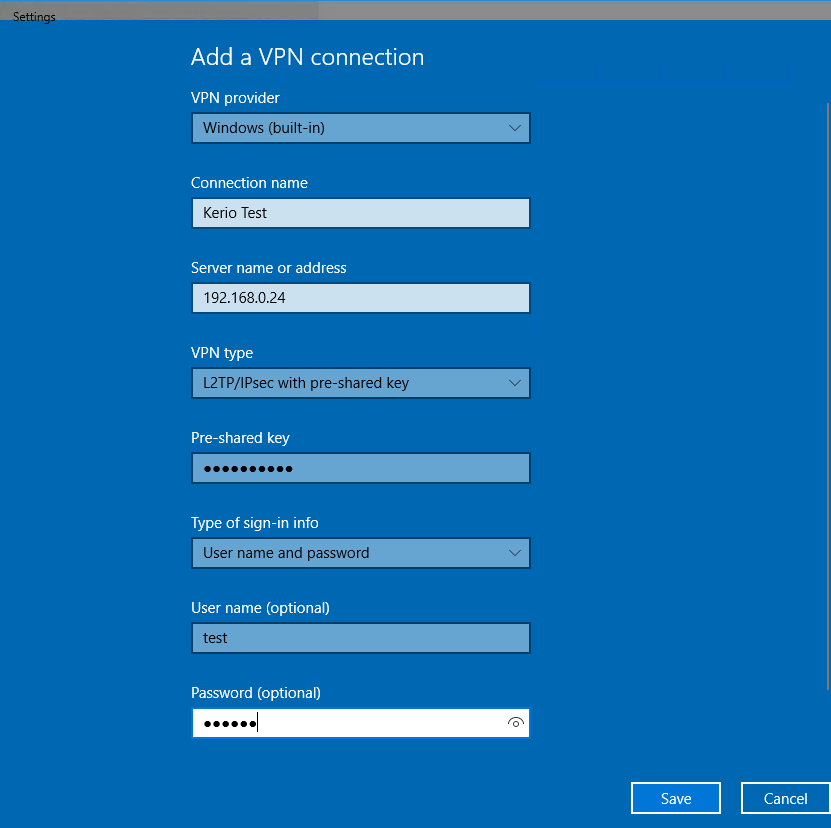
- Specify the VPN settings:
- Select VPN provider as Windows (built-in).
- Enter a Connection name.
- Enter Public IP or hostname of the Kerio VPN Server in the Server name or address field.
- Select L2TP/IPsec with pre-shared key as VPN type.
- Enter the Pre-shared key (PSK) matching the PSK key entered in Kerio Control VPN settings (step 2).
- Select User name and password as Type of sign-in info.
- Enter the User name and the Password.
- Check Remember my sign-in info.
- Click Save button
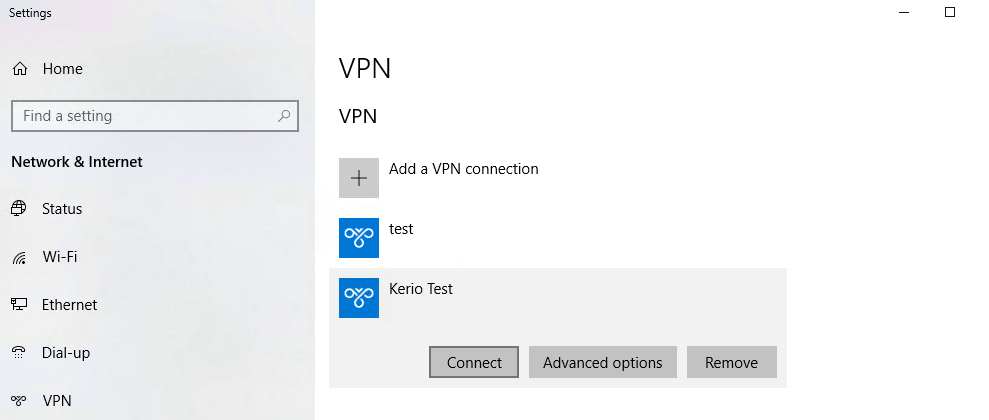
- Select the VPN connection you created and click the Connect button.
- If you are experiencing connection issues, change the Local Security Policy on the client computer (ensure that the option to send LM and NTLM negotiations is enabled) following the next steps:
- Open Local Security Policy in Windows 10.
From the Start menu, in the Search programs and files dialog, entersecpol.mscand press Enter.
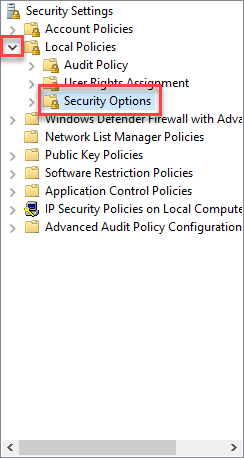
- Expand Local Policies and click on the Security Options folder.
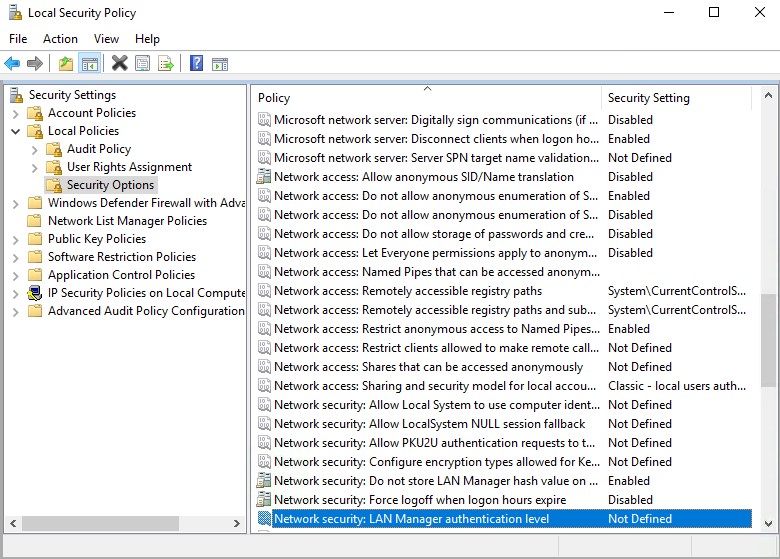
- On the right-hand side of the Local Security Policy window, locate and double-click on Network security: LAN Manager authentication level.
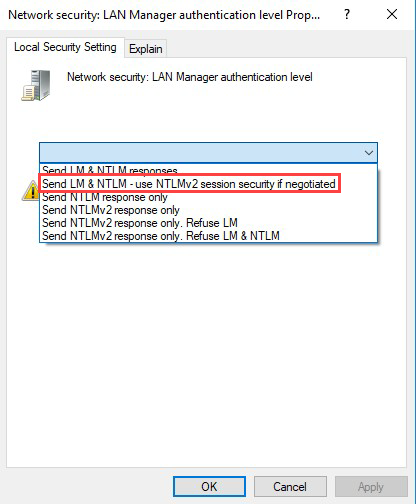
- In the drop-down list, select Send LM & NTLM - use NTLMv2 session security if negotiated.
Click OK.
- Reboot the PC and try connecting again.
- Open Local Security Policy in Windows 10.

Priyanka Bhotika
Comments