Overview
This article gives instructions for setup of the Exchange connectors as well as IIS SMTP setup for servers where FaxMaker is not installed on the Exchange server.
Diagnosis
In order to send and receive faxes via email with FaxMaker, the mail server must be setup with specific connectors to forward mail to and from the fax server. Exchange 2010, 2013, 2016 and 2019 can be setup to route all emails addressed to faxmaker.com or your specific fax or SMS domain. This will be required for an administrator setting up FaxMaker that uses email as a sending method.
When sending emails to the FaxMaker server, an NDR (non delivery report) will be returned until the steps are followed to setup the mail flow.
Prerequisites
- You must have Exchange and FaxMaker installed on the same server or on their own servers, respectively.
- Access to the Microsoft Exchange Management Shell for connector creation
Solution
There are two methods we will be discussing:
- Installing connectors automatically
- Installing connectors manually
The procedures will also be different when:
- Installing on the Exchange server
- Installing on a separate server
The final step will be to verify IIS SMTP on the FaxMaker server can accept mail from the Exchange server
Creating the connectors automatically
Installing on the Exchange server
Follow the installation procedure in the installing FaxMaker article.
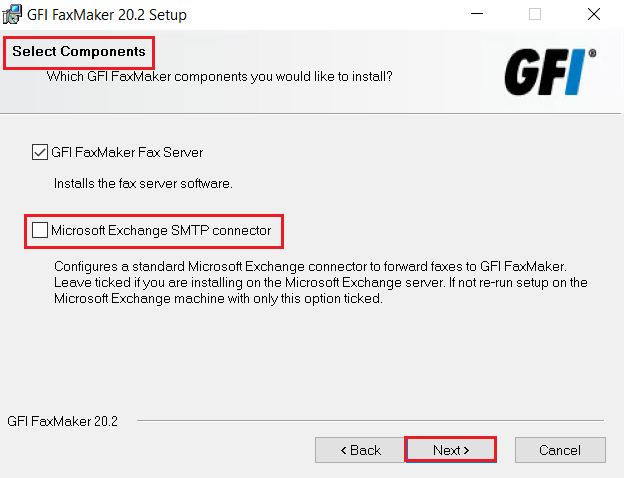
In step 9, in the select components window, be sure to select the Microsoft Exchange SMTP connector check box. This box is not selected by default.
Proceed through the installation per the article.
Installing on a separate server
When installing on a separate server the installation is not changed from the installing FaxMaker article. Once the installation is complete:
- Copy the installer to the exchange server
- Follow the steps in the installing FaxMaker article
- When you reach step 9, in the select components window, deselect the check from GFI FaxMaker Fax Server and select the Microsoft Exchange SMTP connector.
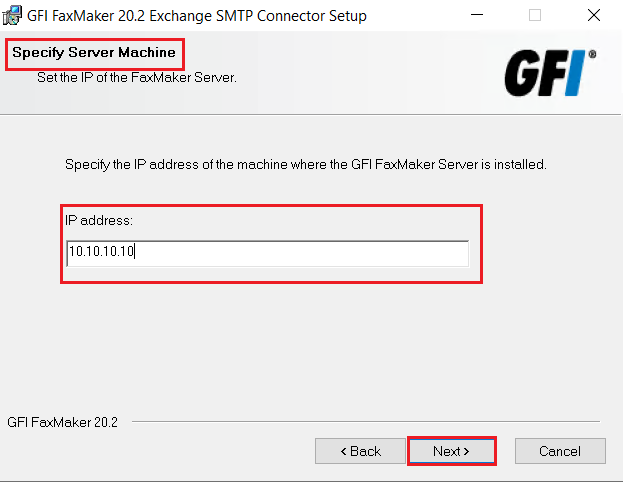
- In the Specify Server Machine box, enter the FaxMaker server IP address and select Next
- Select next and the installation will start
- When completed you will receive confirmation the SMTP connector has been successfully installed.

Creating the connectors manually
Installing on the Exchange server
Use the following Microsoft® Exchange Management Shell commands to create the connectors manually when GFI FaxMaker is installed on Microsoft® Exchange Hub Transport Server. This procedure is not usually required since GFI FaxMaker automatically configures the connectors automatically during installation.
- Create a Receive Connector
new-receiveconnector -name "GFIFaxMaker" -Bindings "0.0.0.0:25" -RemoteIPRanges "127.0.0.1" -AuthMechanism "ExternalAuthoritative" -PermissionGroups "ExchangeServers" -fqdn "faxmaker.com"
- Create a Foreign Connector
New-ForeignConnector -Name GFIFaxmaker -AddressSpaces "SMTP:faxmaker.com" , "SMTP:smsmaker.com" , "FAX:*" , "SMS:*"
- Set the Foreign Connector
Set-ForeignConnector -Identity GFIFaxmaker -DropDirectory "C:\Program Files (x86)\GFI\FAXmaker\Sinkdrop"
Change C:\Program Files (x86)\GFI\FAXmaker with the path to your GFI FaxMaker installation folder if the path is not default on your server.
Installing on a separate server
Use the following Microsoft® Exchange Management Shell commands to create the connectors manually when GFI FaxMaker is installed on a separate machine from the Microsoft® Exchange Hub Transport Server.
- Create a Receive Connector
new-receiveconnector -name "GFIFaxMaker" -Bindings "0.0.0.0:25" -RemoteIPRanges "10.10.10.10" -AuthMechanism "ExternalAuthoritative" -PermissionGroups "ExchangeServers" -fqdn "faxmaker.com"
Replace10.10.10.10with the IP address of the GFI FaxMaker machine. - Create a Send Connector
new-sendconnector -name "GFIFaxmaker" -AddressSpaces SMTP:faxmaker.com , SMTP:smsmaker.com , FAX:* , SMS:* -DNSRoutingEnabled:$false -SmartHosts "10.10.10.10"
Replace10.10.10.10with the IP address or name of the GFI FaxMaker machine.
- The default fax (
faxmaker.com) and SMS (smsmaker.com) domains can be customized by the GFI FaxMaker administrator. If using custom domains, key in the custom domains instead. - A Foreign Connector should not be created when installing GFI FaxMaker separately from the Hub Transport Server.
Verify IIS SMTP on the FaxMaker server can accept mail from the Exchange server
Follow the steps in the Edit Relay Settings for the IIS SMTP Instance Installed on the FaxMaker Server for setting up the IIS SMTP server on the fax server.
Confirmation
Verify a fax/email can be sent through the mail server to the fax server.
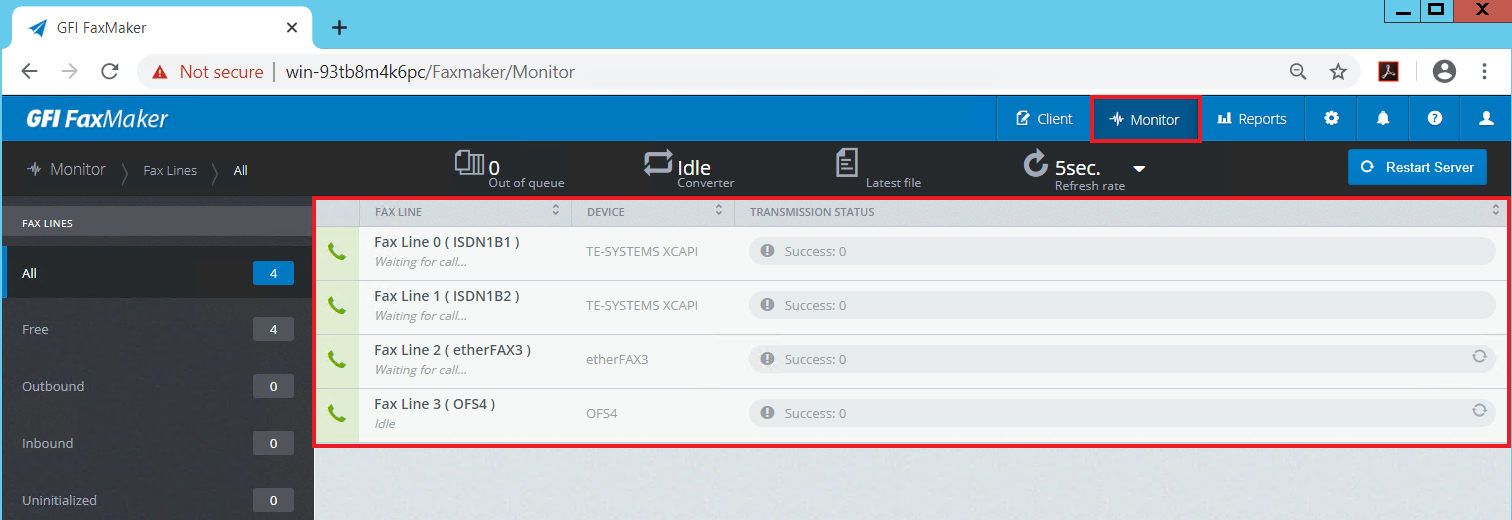
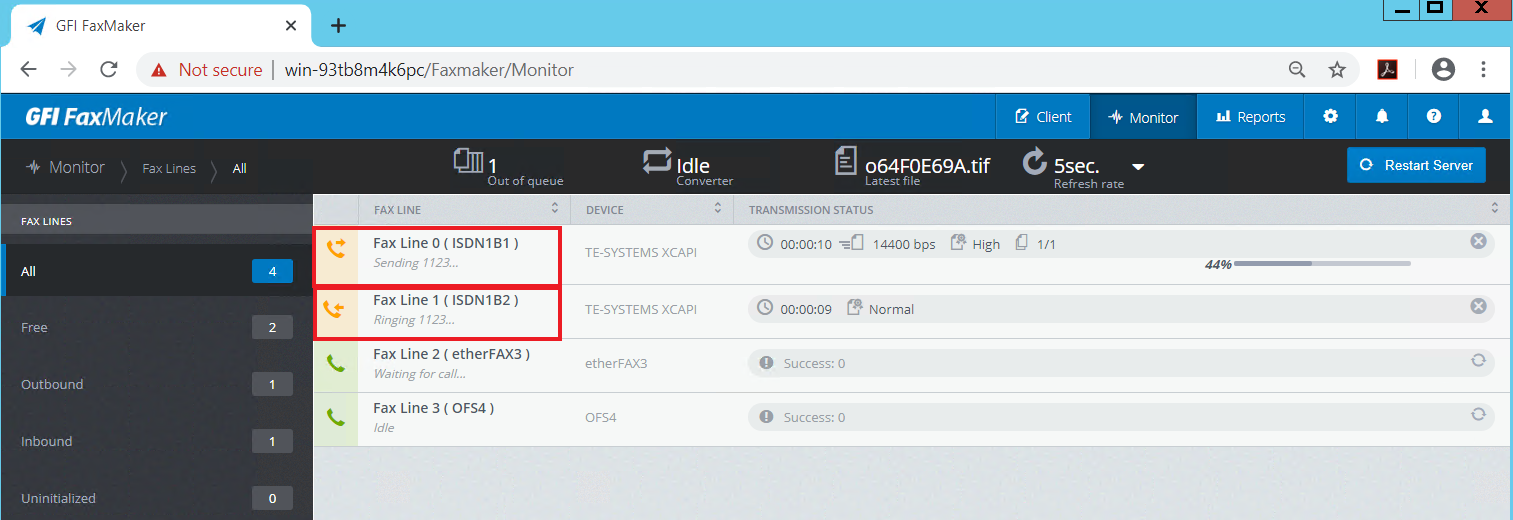
When the mail arrives at the faxserver it should show in the FaxMaker Monitor.
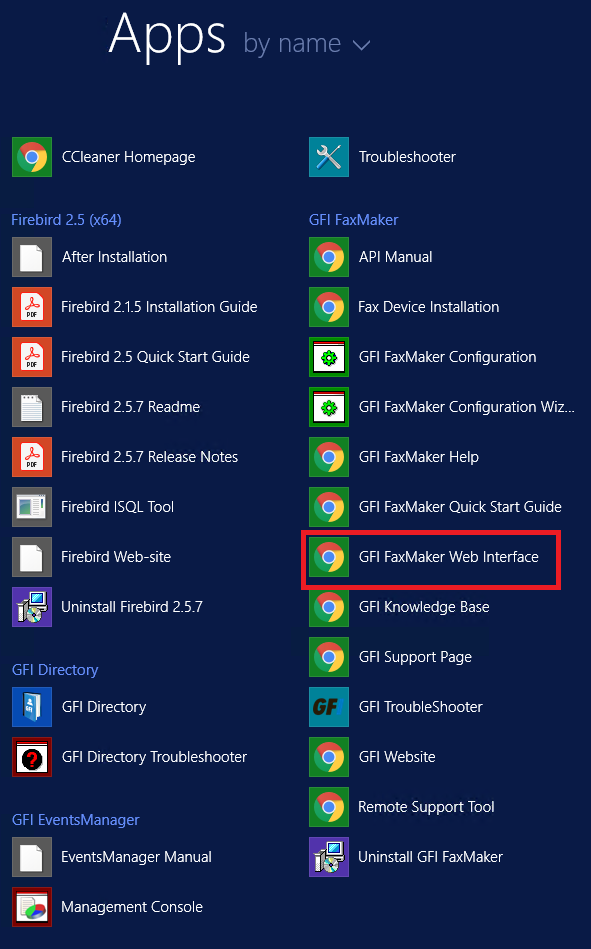
- Select Start > Programs > GFI FaxMaker Web Interface
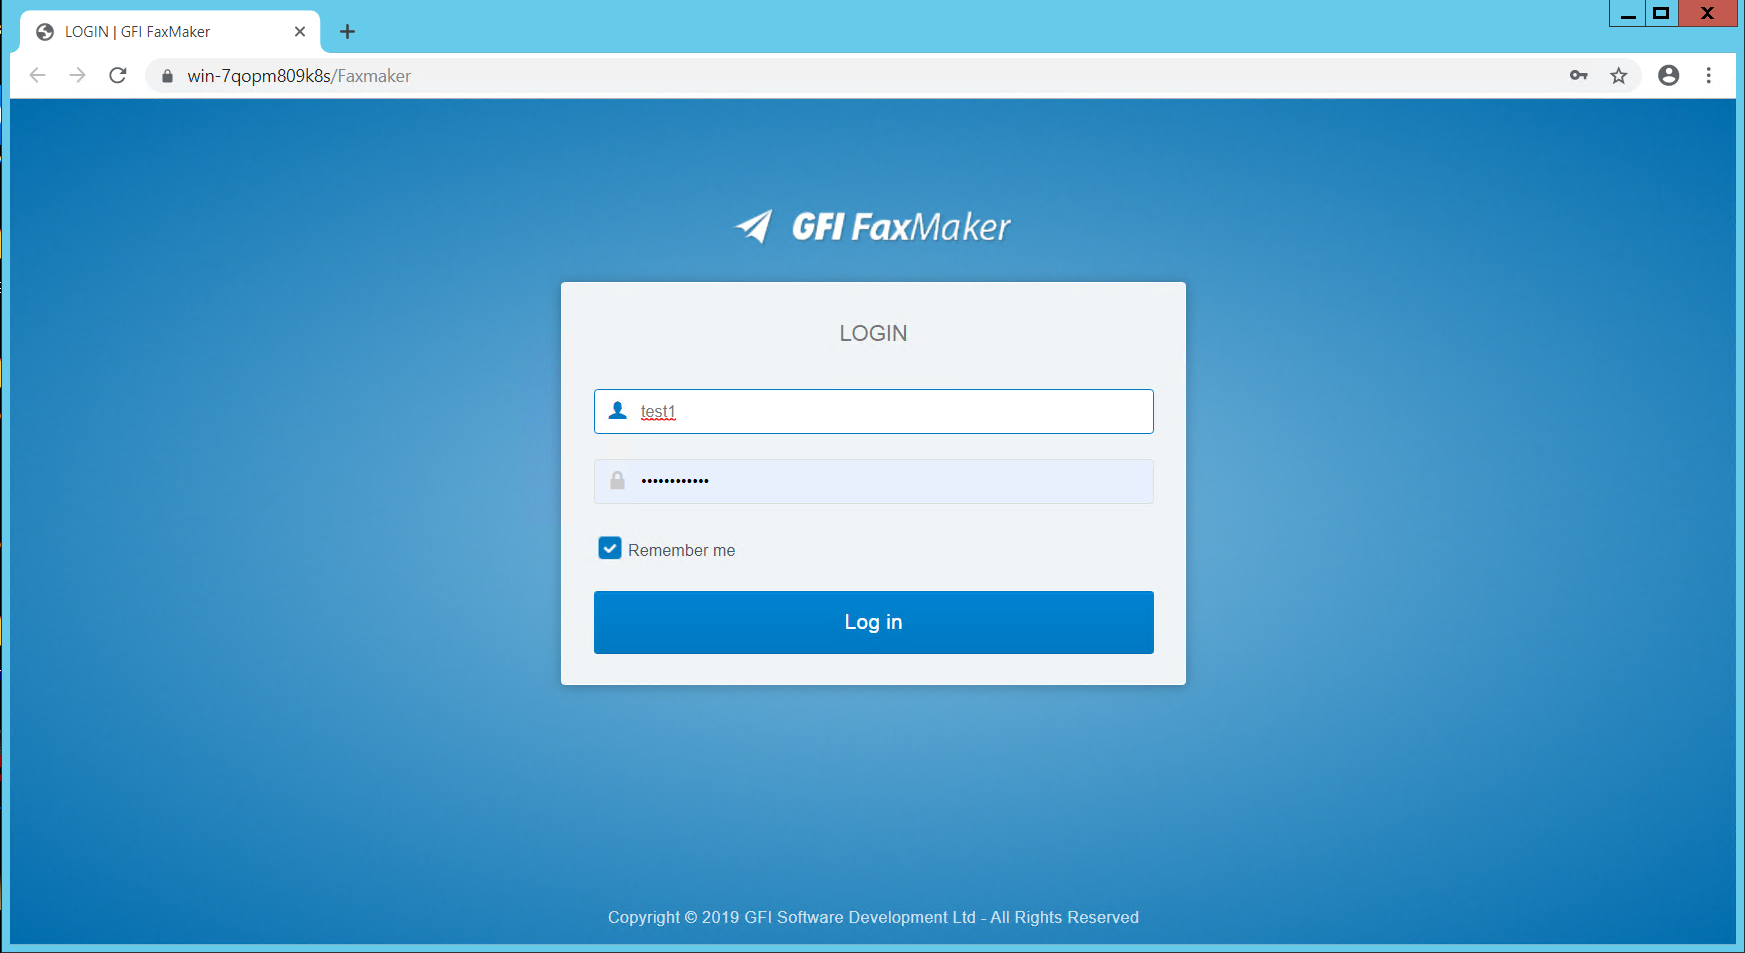
- Login to the FaxMaker Web Interface
- Select the Monitor tab
- Test the functionality of GFI FaxMaker by sending a test fax via email.
Priyanka Bhotika
Comments