Overview
This article provides information on how to configure Kerio Connect and MailEssentials.
Note: Any issues with the installation and configuration of IIS SMTP is outside of GFI’s support scope.
Preconditions
- Kerio Connect and MailEssentials must be installed on separate servers.
- There should be mail flow before installing MailEssentials, so the first phase is to make sure the IIS SMTP is working.
- Incoming emails need to be received first by MailEssentials, so MX records must be pointing to the IIS SMTP server.
Configuration Procedure
-
Enable IIS SMTP Service.
- Install IIS SMTP Service via Server Manager or PowerShell.
-
If installing via Server Manager, refer to the Create the SMTP Server document on Microsoft's BizTalk site.
-
If installing via PowerShell, use the following command:
Install-WindowsFeature -Name SMTP-Server -IncludeAllSubFeature -IncludeManagementTools -Restart
-
-
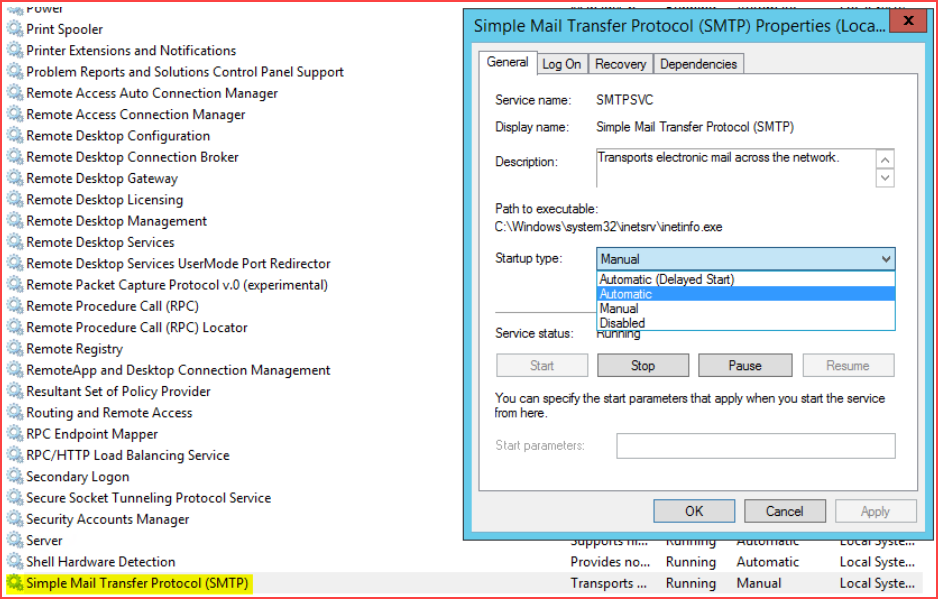
After installing IIS SMTP, go to services.msc — Start > Run > services.msc — and change the Startup type of Simple Mail Transfer Protocol service to Automatic and then start the service, as shown below.
- Install IIS SMTP Service via Server Manager or PowerShell.
-
Create SMTP domain(s) for the purpose of relaying email.
-
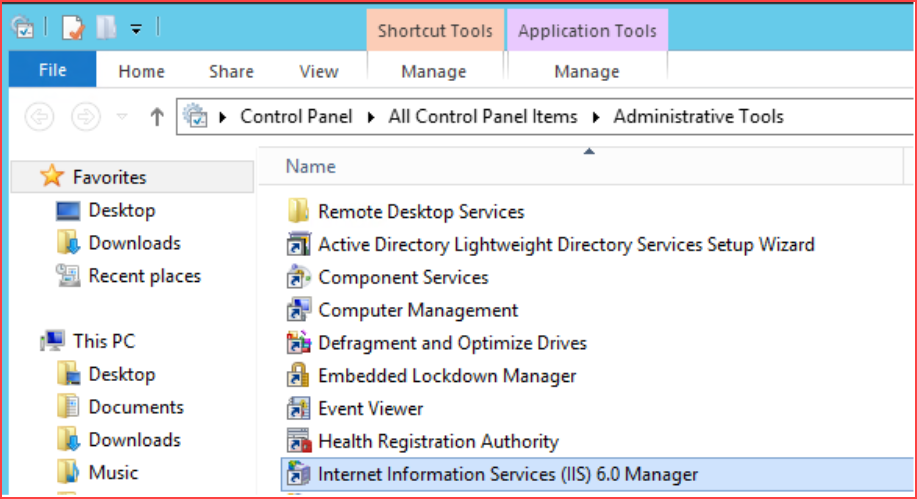
Open Control Panel > Administrative Tools and launch IIS 6.0 Manager.
-
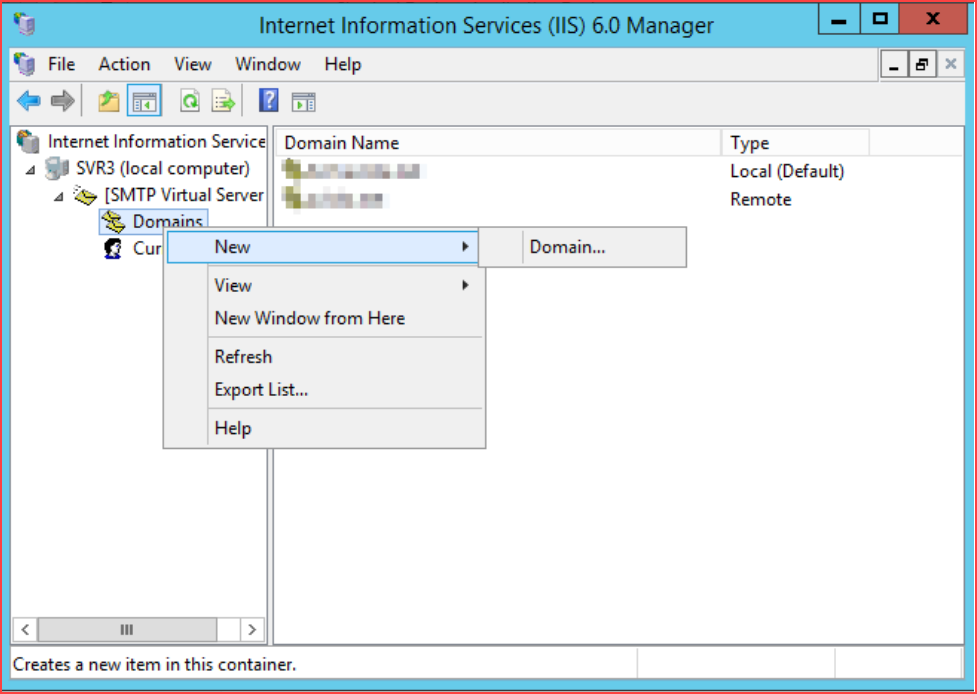
Expand the local computer > SMTP Virtual Server > Domains.
-
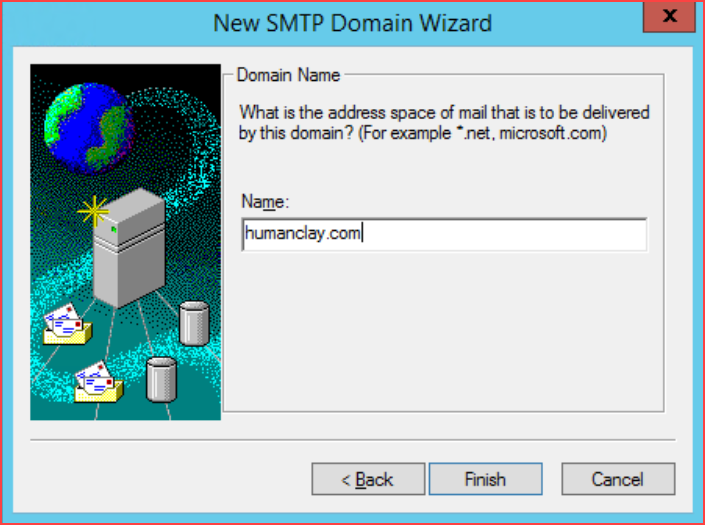
Right-click the Domains > New > Domain.
-
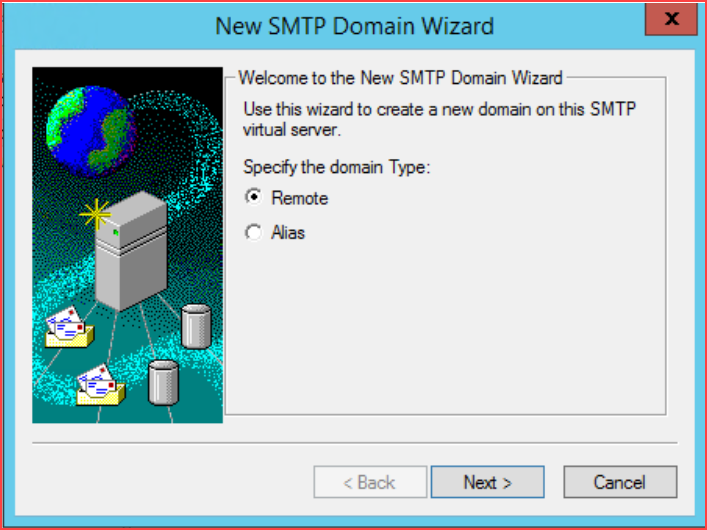
Select Remote and click Next.
-
Type the Kerio Connect domain and Finish.
Note: All domains that will be relayed to this server must be added, or you can also add the top-level domain to save time. Example: *.com.
-
-
Enable email relaying to Kerio Connect.
-
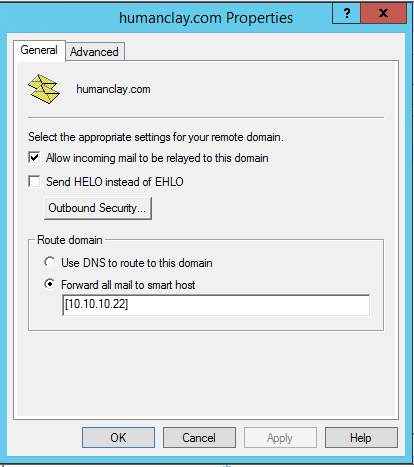
Double click the newly added domain to open the properties.
-
Select “Forward all mail to smart host”, enter the Kerio Connect hostname or IP, and click OK.
Note: If using the IP address instead of the hostname, the IP address must be enclosed in brackets.
-
-
Secure your SMTP email-relay server.
-
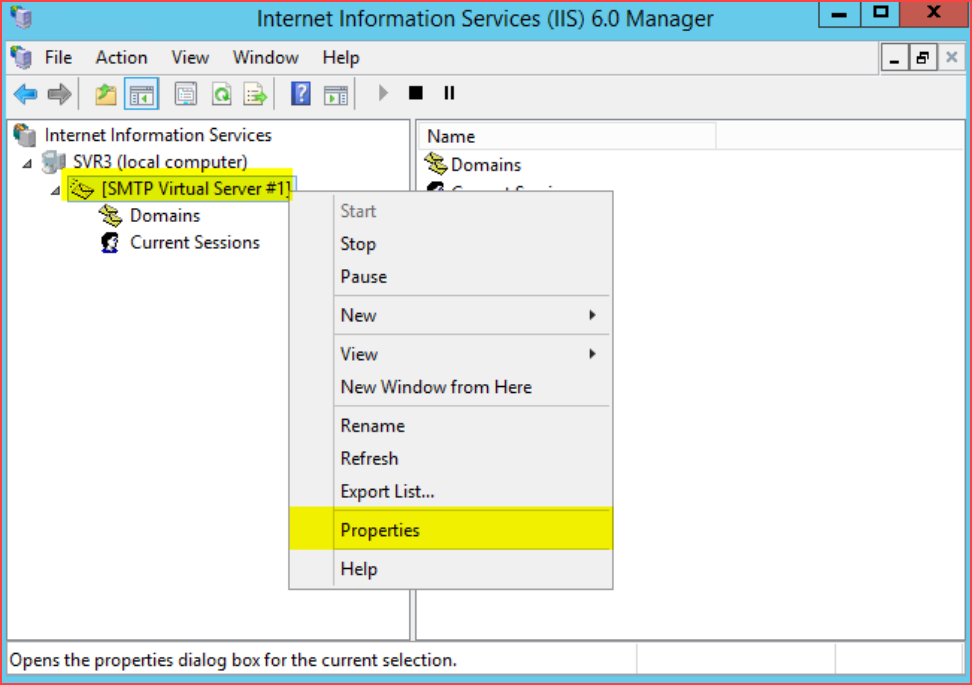
Go to Start > Control Panel > Administrative Tools > Internet Information Services (IIS) Manager.
-
Right-click on Default SMTP Virtual Server in the left panel and select Properties.
-
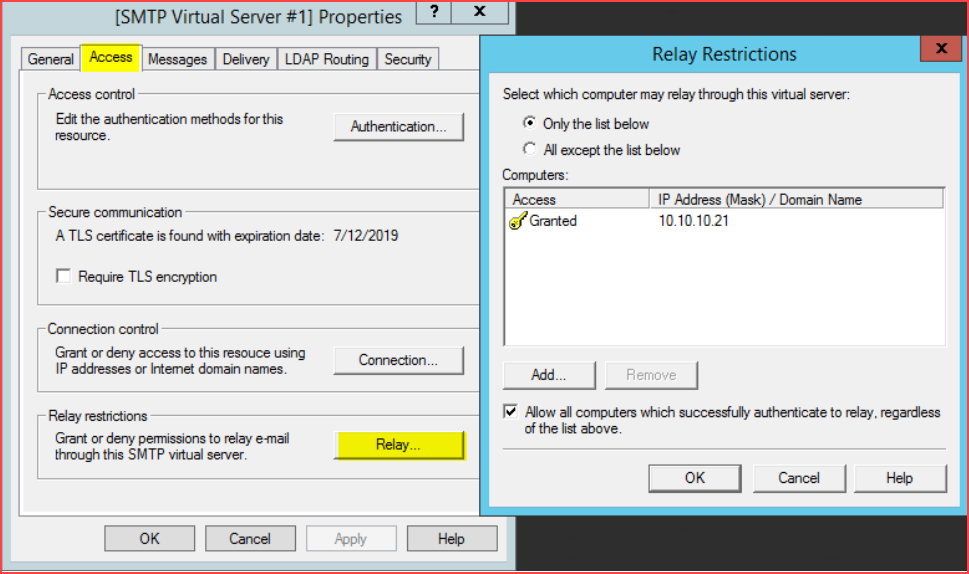
From the Access tab, select Relay > Only the list below and add the IP address of Kerio Connect.
-
If you wish to add authentication for Outbound relay, go to the Security tab > Outbound Security.
-
-
Enable Kerio Connect to route emails via the IIS SMTP server.
-
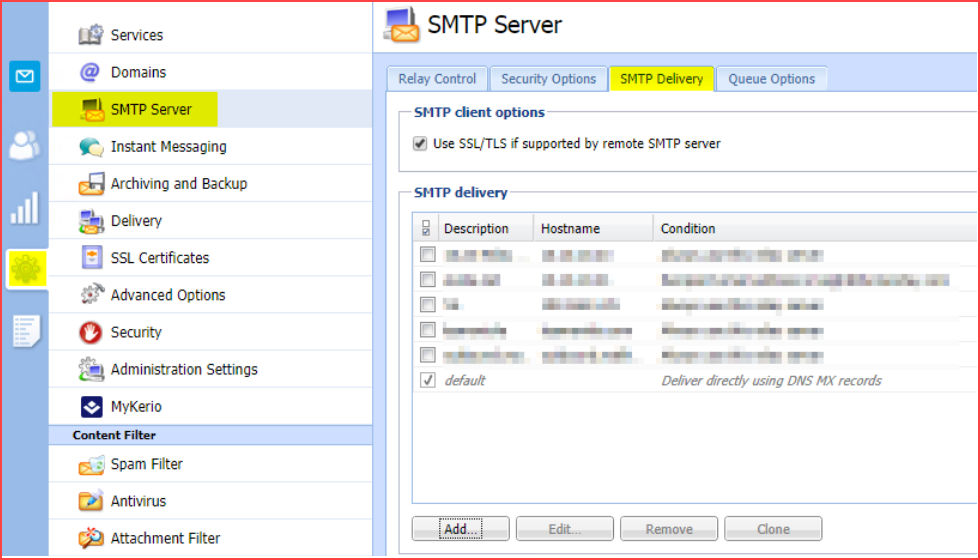
Open Kerio Connect Administration > Configuration > SMTP Server > SMTP Delivery.
-
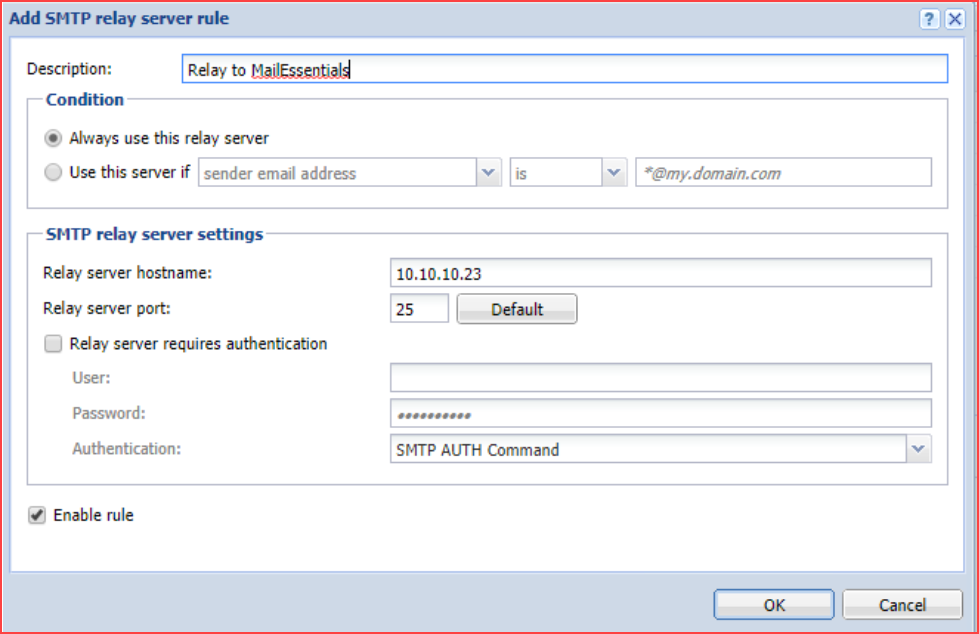
Click Add and input the hostname or IP address of the IIS SMTP Server. Specify the appropriate condition, port, and credentials if required.
-
Click OK and Apply.
For more information, please refer to Configuring the SMTP Server.
Note: Before proceeding to install GFI MailEssentials, verify that your new mail relay server is working correctly. Test both Inbound and Outbound emails and make sure that they are received.
-
-
Install MailEssentials by following the procedure in the installation guide.
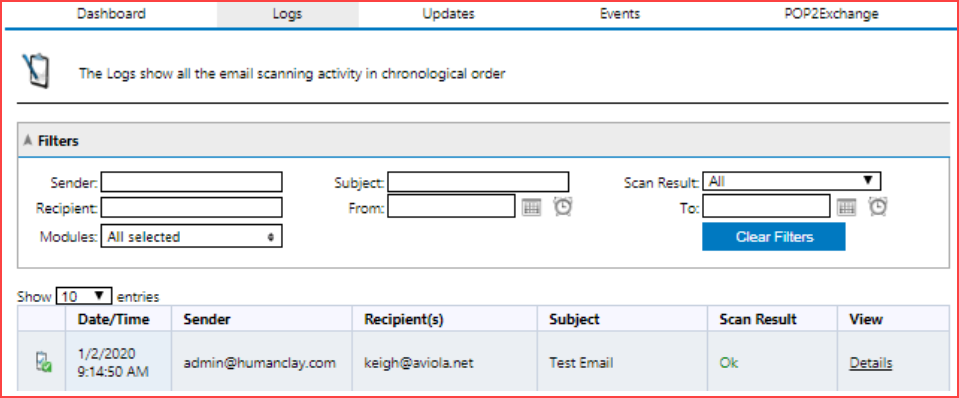
Verification
After MailEssentials is installed, you should see the incoming and outgoing emails in the MailEssentials Dashboard.
Priyanka Bhotika
Comments