Overview
The relay settings allow the SMTP server/service to accept emails from a particular server or smart host. This article provides the steps for editing the relay settings for the GFI FaxMaker SMTP Instance.
Diagnosis
When the IIS SMTP server is not set to allow mail from the mail server, you may see emails meant for FaxMaker:
- the mail may end up in the inetpub/drop folder and not make it to the FaxMaker folder structure
- A queue will build up in the Exchange server
- A rejection NDR (non delivery report) will be received by the sender
Solution
To edit the Relay Settings for the IIS SMTP instance where GFI FaxMaker is installed, follow the steps below:
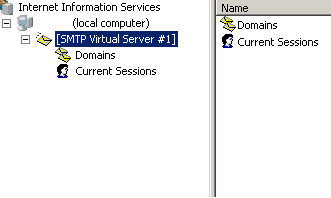
- Open the Internet Information Services (IIS) Manager from Start > Administrative Tools. Additionally, this can be found in Control Panel > Administrative Tools.
- NOTE: On Microsoft Windows Server 2008 or later, select the Internet Information Services (IIS) 6.0 Manager.
- NOTE: On Microsoft Windows Server 2008 or later, select the Internet Information Services (IIS) 6.0 Manager.
- Right-click the SMTP Virtual Server and select Properties.
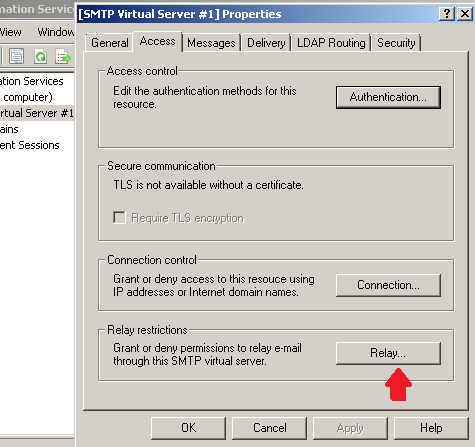
- Navigate to the 'Access' Tab and select the Relay... button.
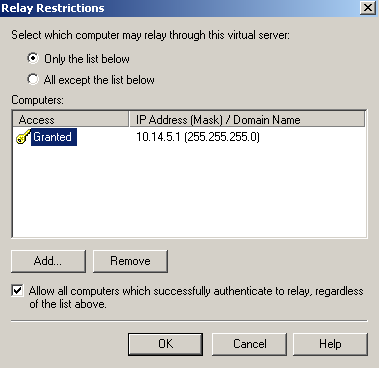
- Ensure that the IP address(es) of the sending parties, specifically the mail server, are added to the relay allowances. If using GFI FaxMaker with a hosted mail solution, your Mail Server's IP address(es) should be added here.
- After making any edits to the SMTP settings, perform an IIS reset.
RIght click Start
Run
Typecmdand select enter
Typeiisresetand select Enter


Confirmation
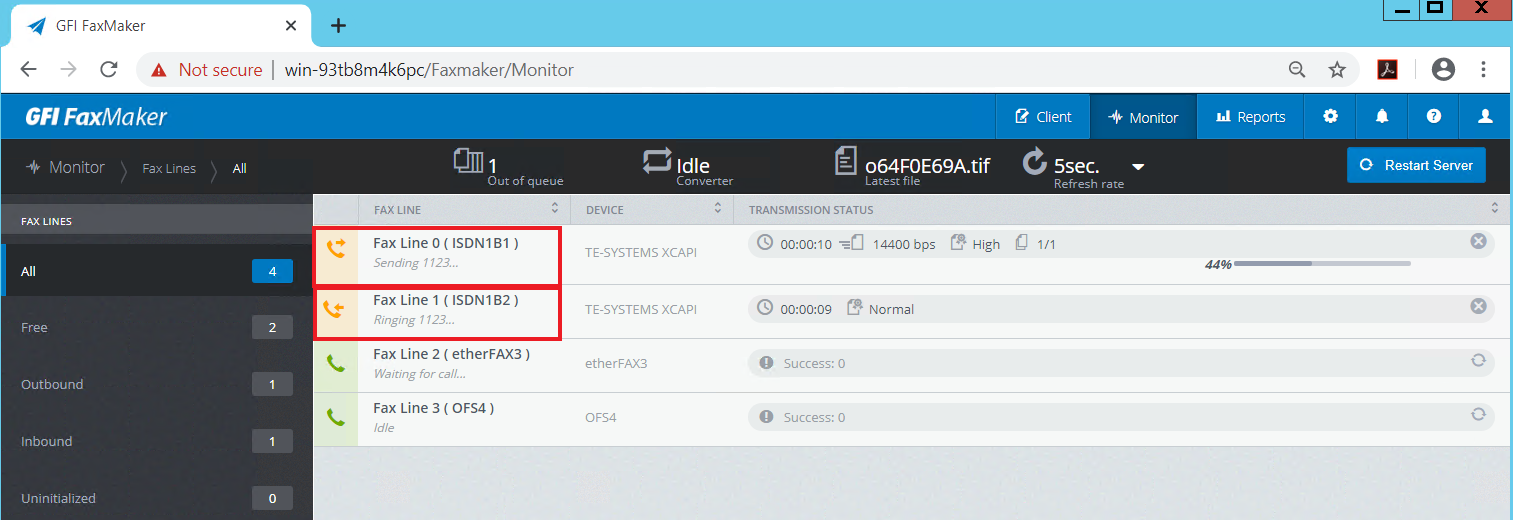
Verify a fax/email can be sent through the mail server to the fax server.
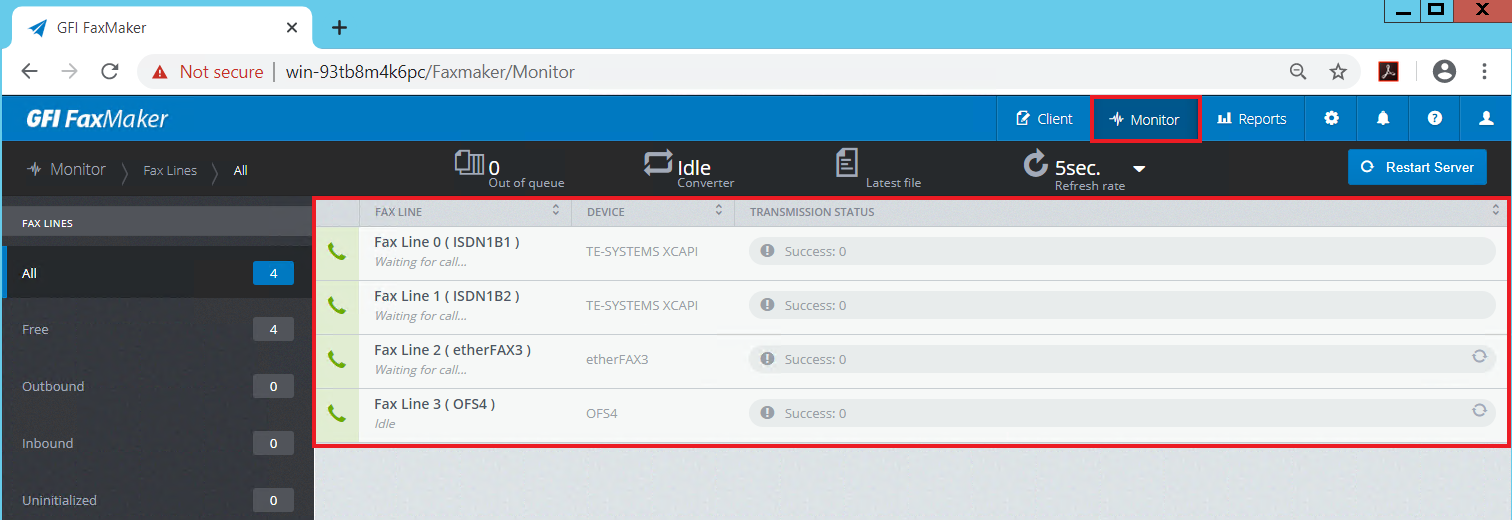
When the mail arrives at the faxserver it should show in the FaxMaker Monitor.
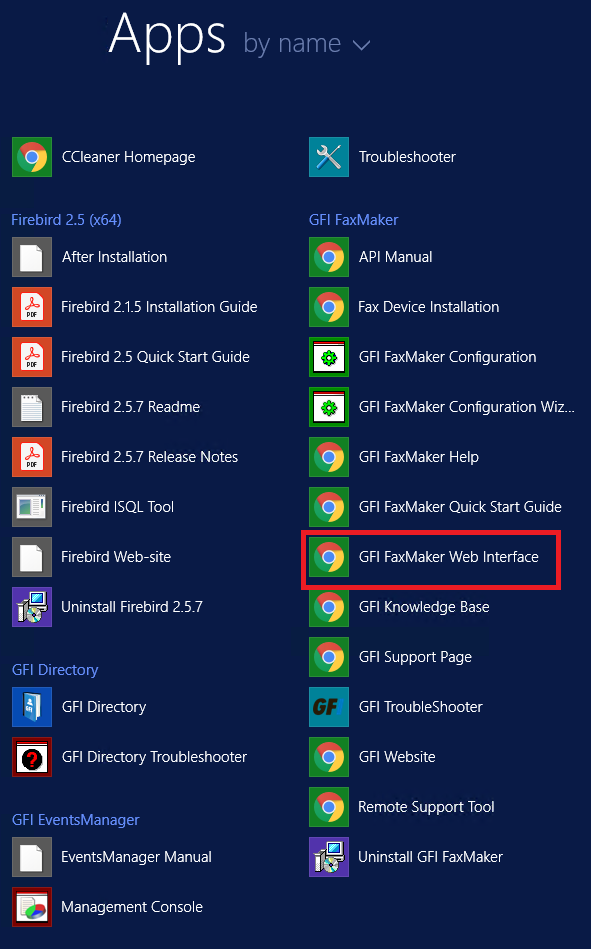
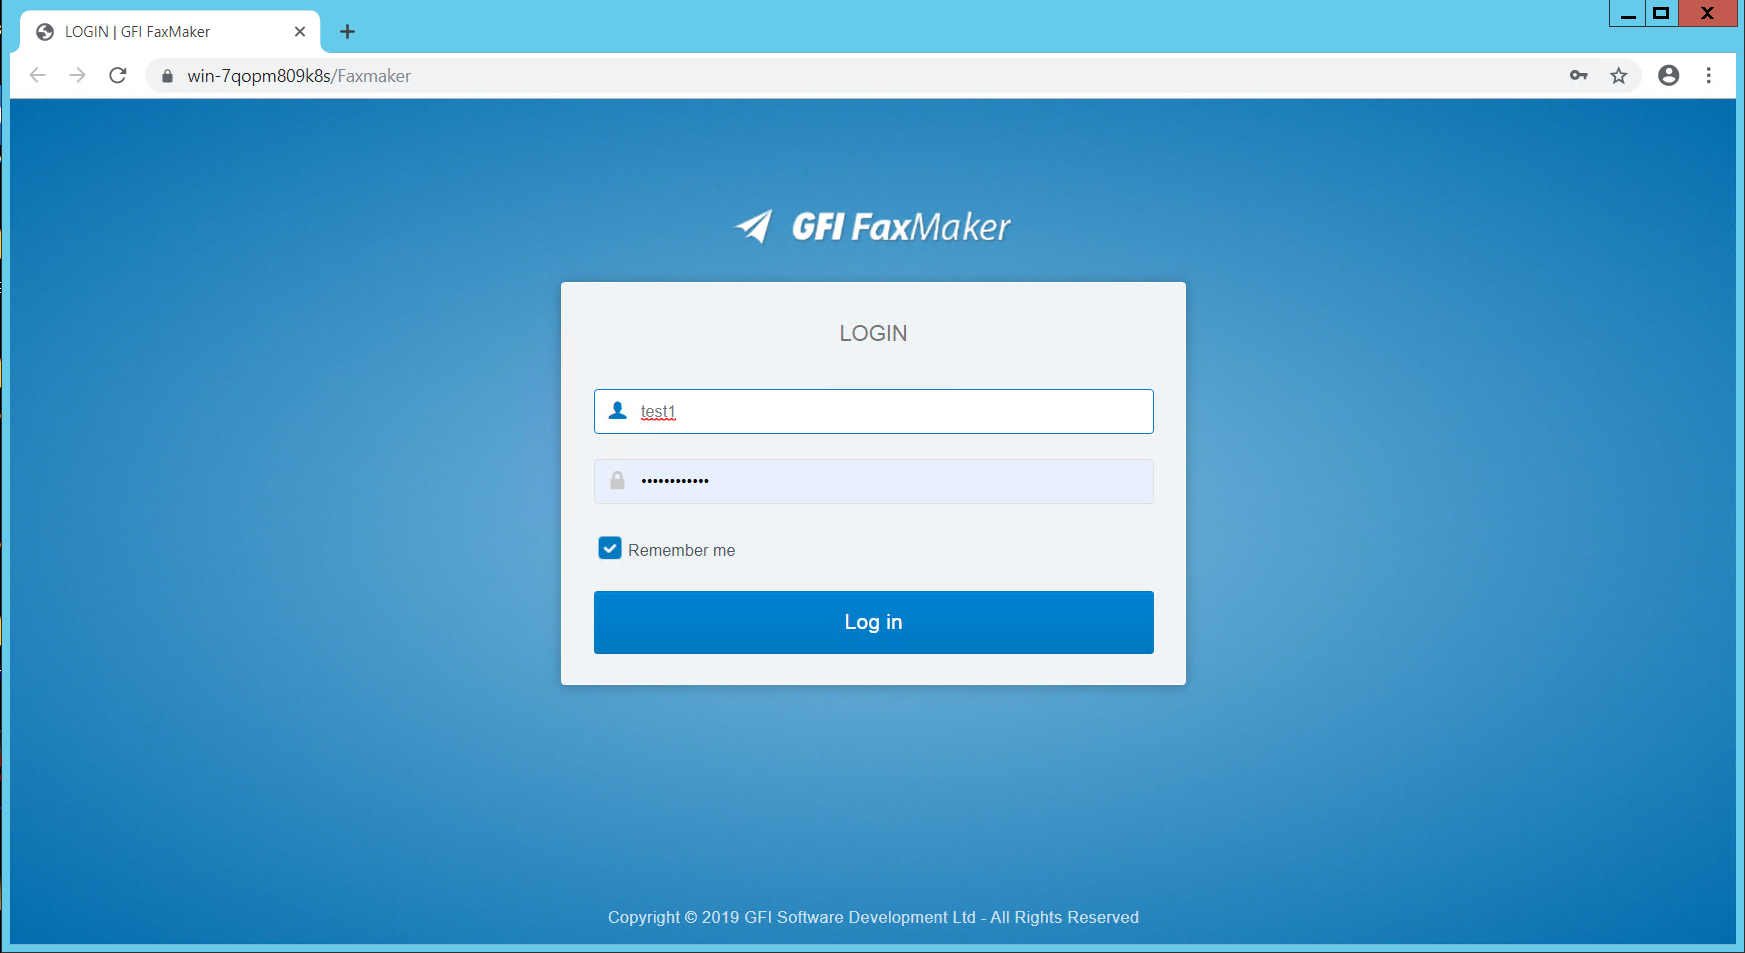
- Select Start > Programs > GFI FaxMaker Web Interface
- Login to the FaxMaker Web Interface
- Select the Monitor tab
- Test the functionality of GFI FaxMaker by sending a test fax via email.
Priyanka Bhotika
Comments