Overview
This article describes how to configure GFI FaxMaker using the post-installation Configuration Wizard. The GFI FaxMaker Configuration Wizard runs automatically after installation and assists users through the necessary steps of configuring GFI FaxMaker.
The GFI FaxMaker Configuration Wizard can also be run manually from Start > Programs > GFI FaxMaker > GFI FaxMaker Configuration Wizard.
Note: Completing this wizard is mandatory after performing a new installation or upgrading GFI FaxMaker.
Process
Installation
- Open the GFI Faxmaker Configuration Wizard and click Next in the welcome screen.
- The GFI FaxMaker Client and other Web Services API applications connect to GFI FaxMaker over HTTP port 8555.
- If this port is not open, click OK to have GFI FaxMaker automatically open these ports.
- These ports can also be opened manually.
- If this port is not open, click OK to have GFI FaxMaker automatically open these ports.

Note: The following two sections describe steps specific to different versions of Windows. The description of the installation process will continue in the Installation Continued section.
Follow these steps when installing FaxMaker In Windows Server 2016, 2012, 2008
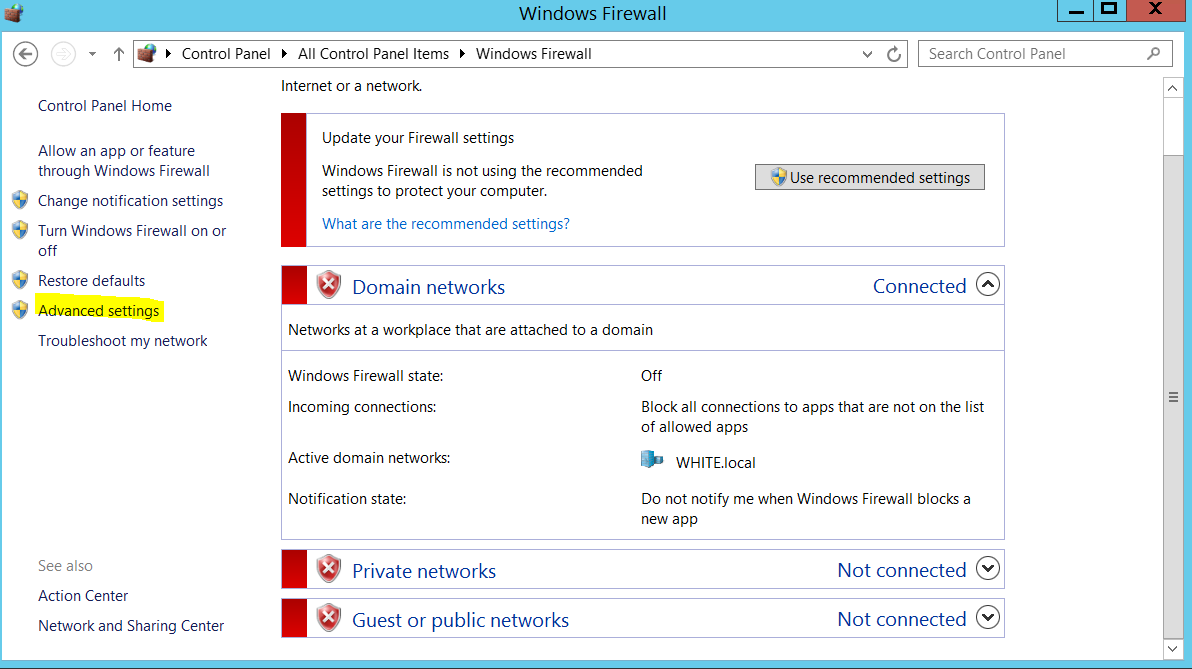
- Open Windows Search, type
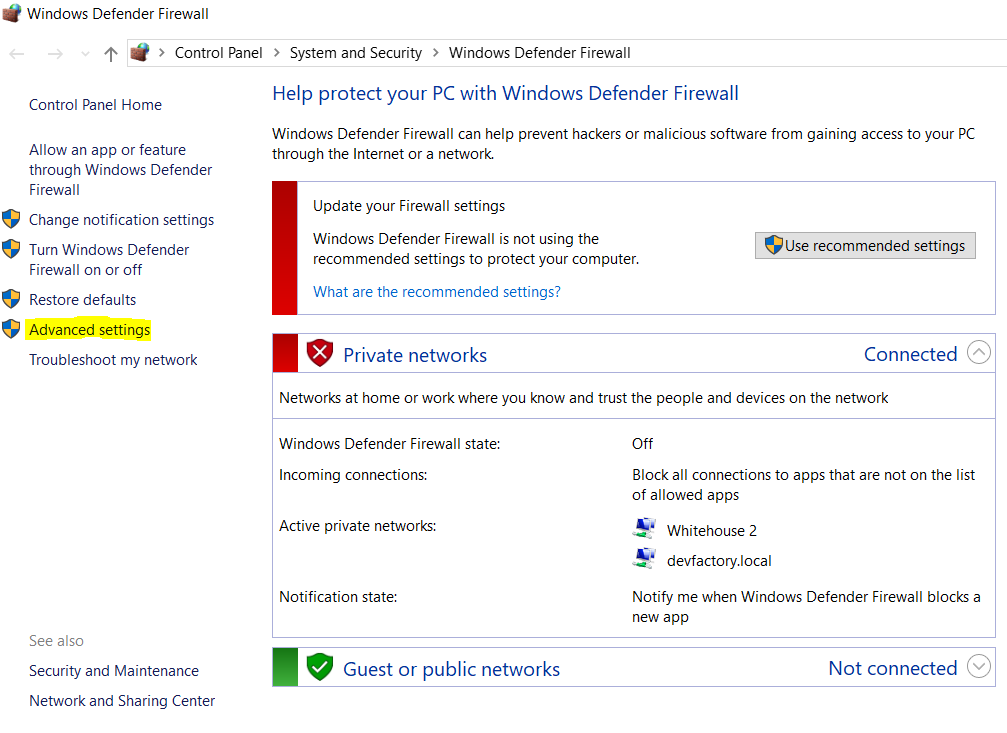
firewallin and choose Windows Firewall. - Click Advanced settings. Administrator permissions are required to proceed.
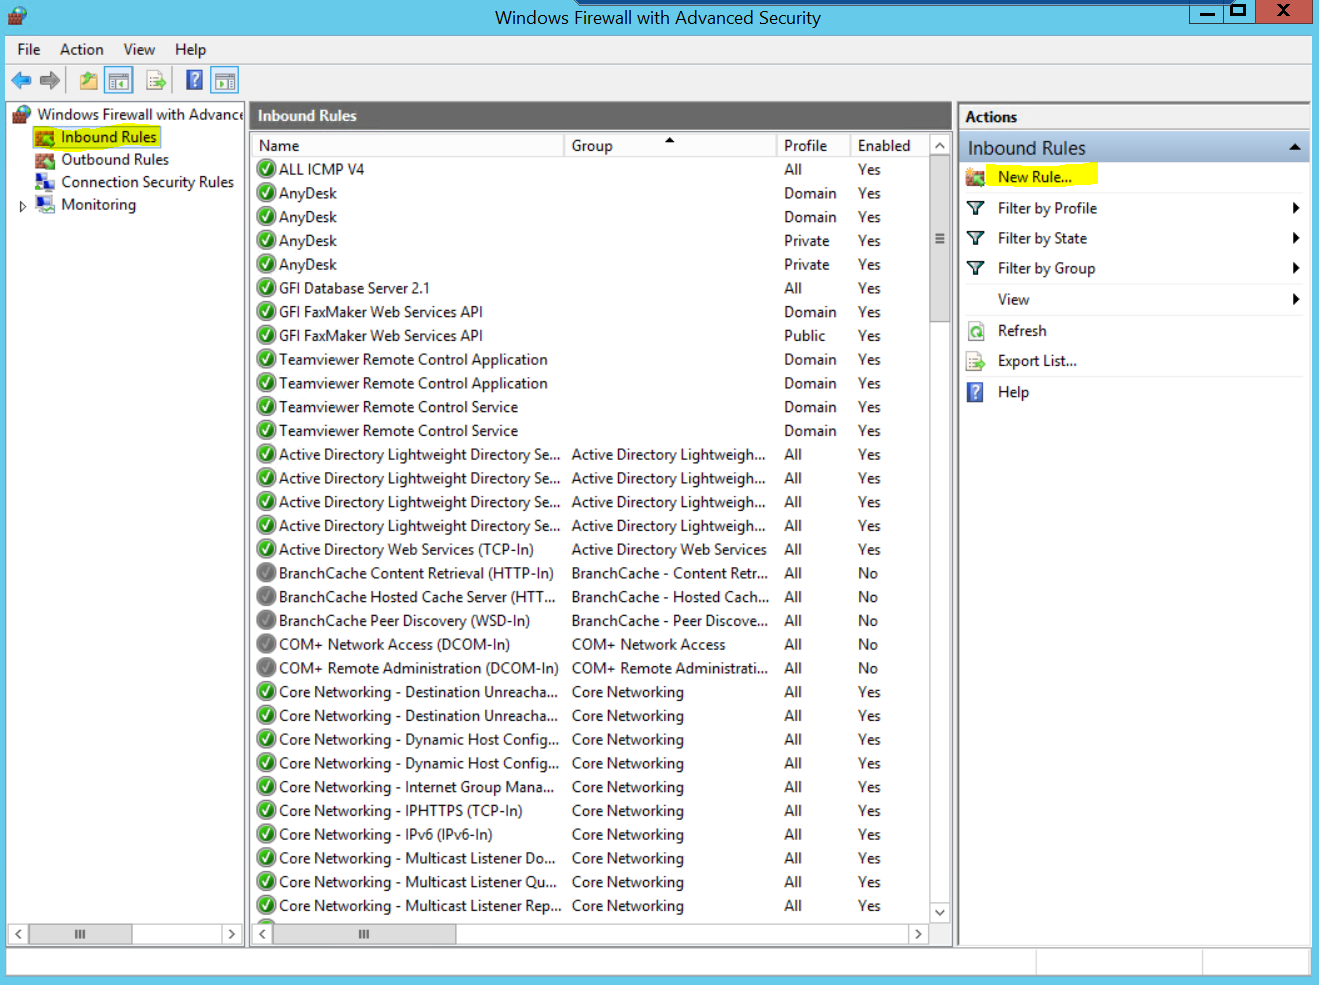
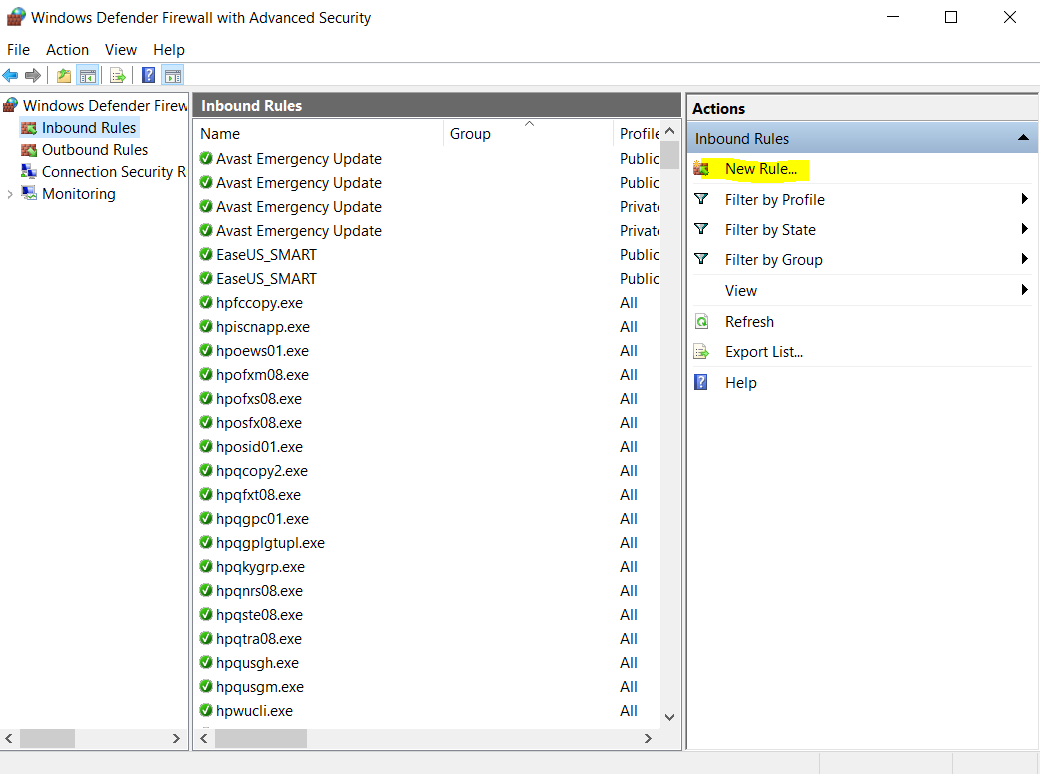
- In the Windows Firewall with Advanced Security box, click Inbound Rules, and then click New Rule in the right pane.
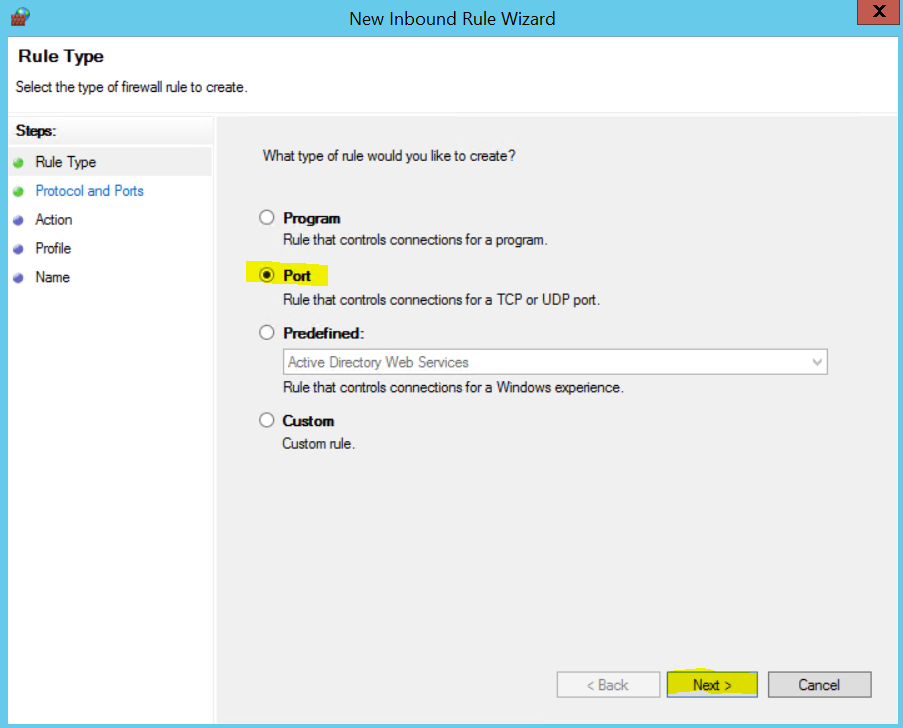
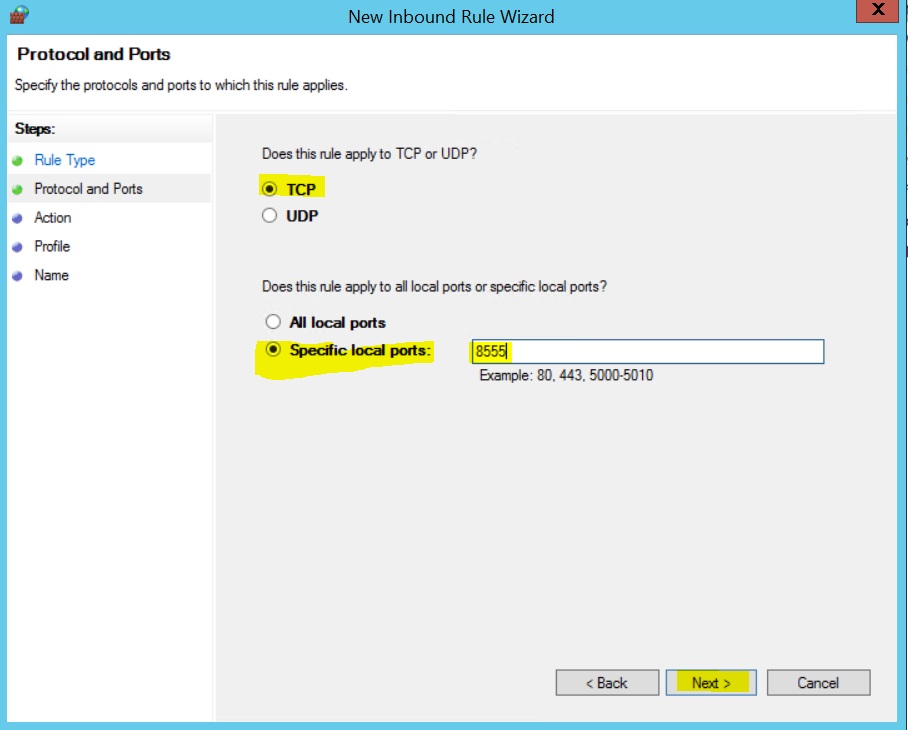
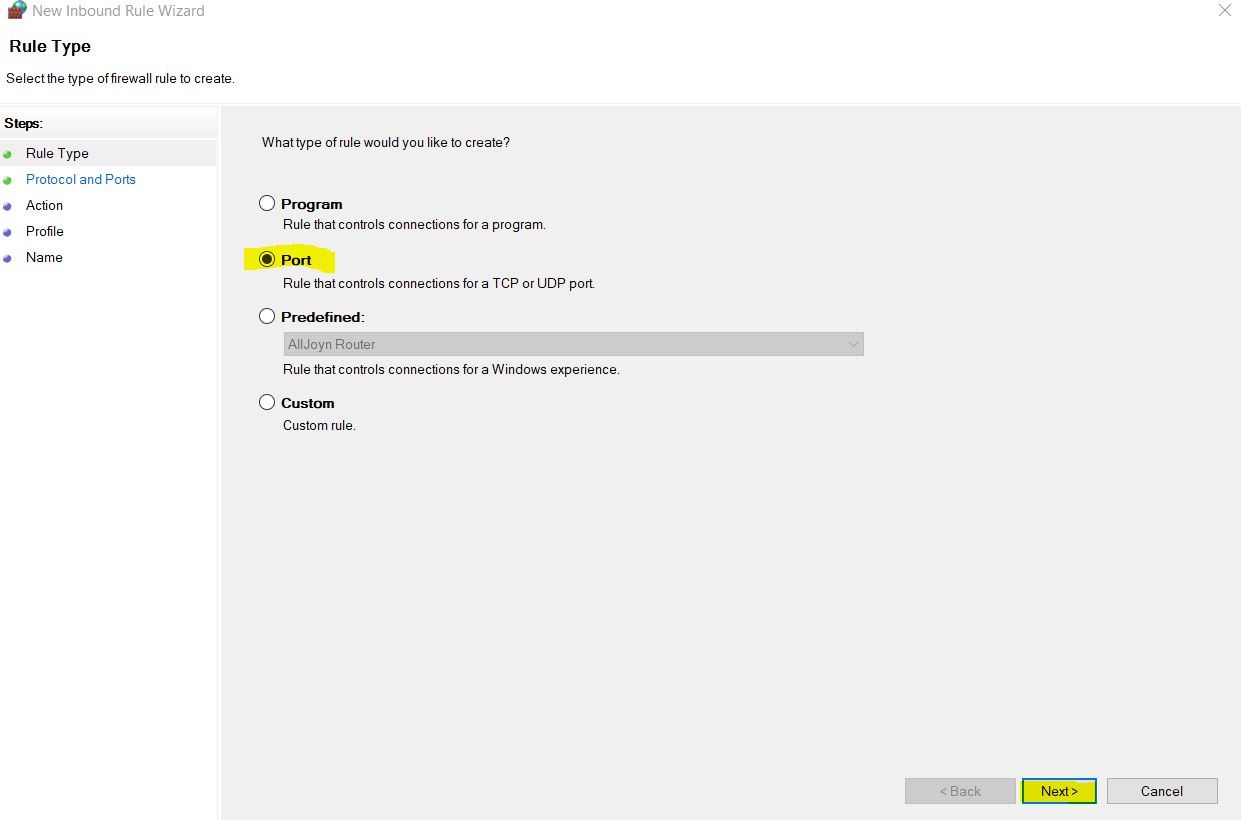
- Choose Port and click Next.
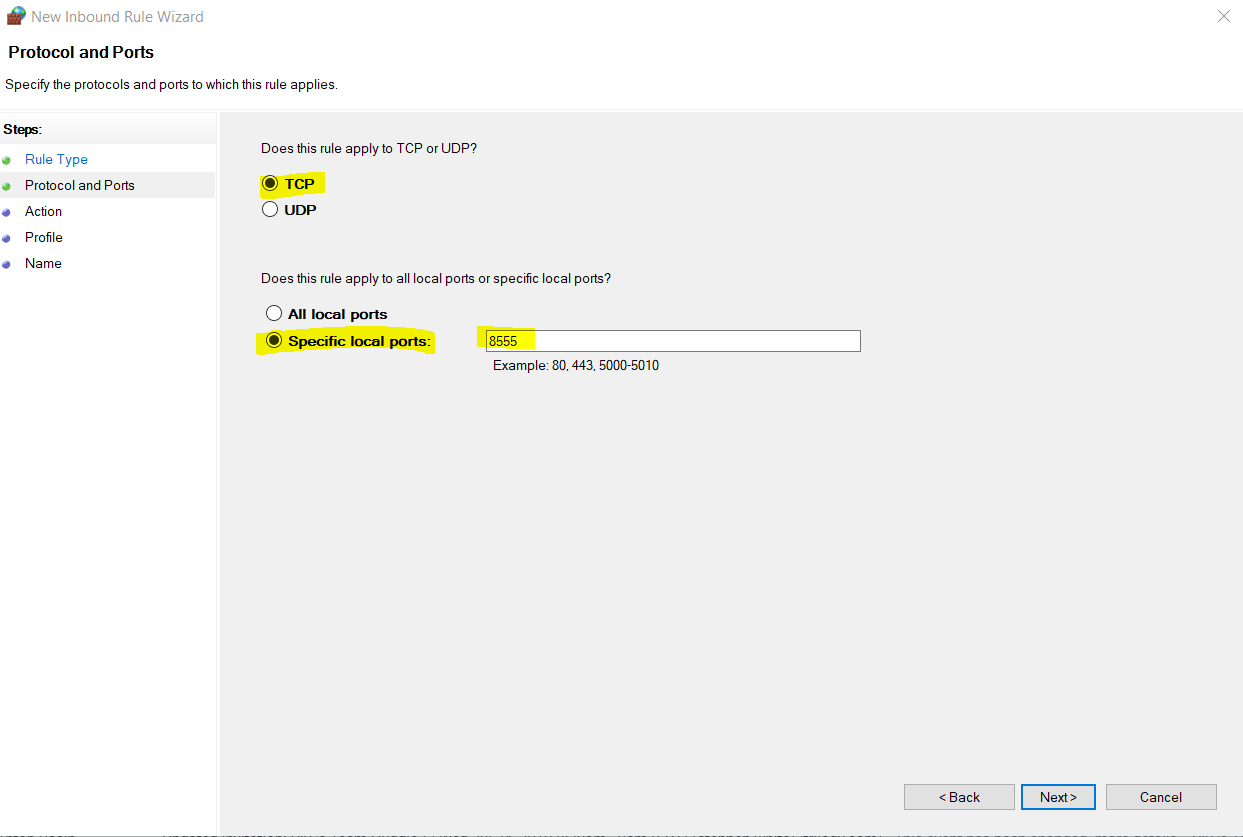
- Select TCP and type
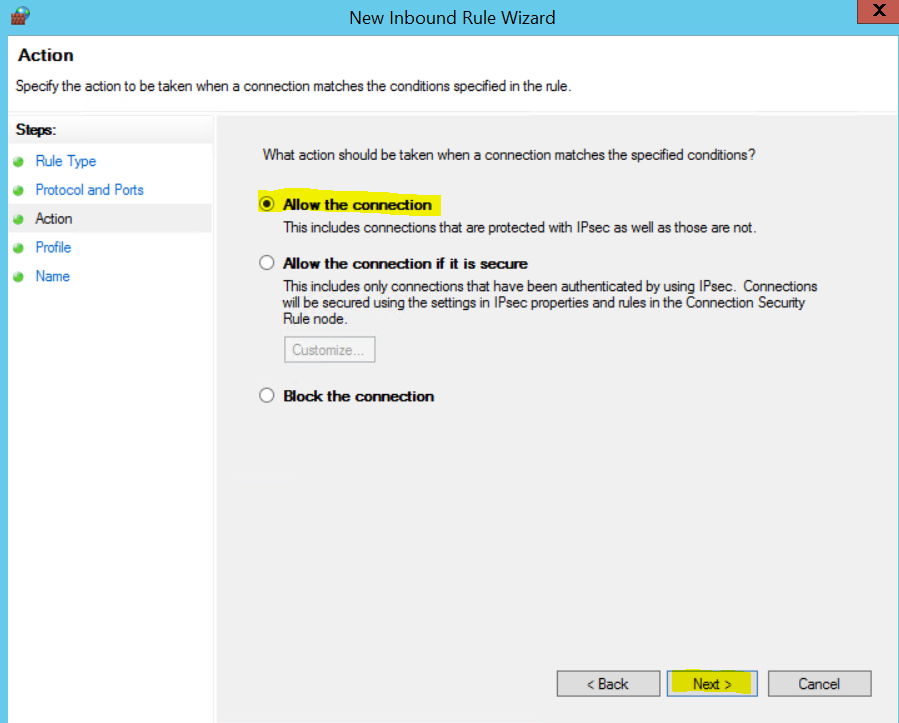
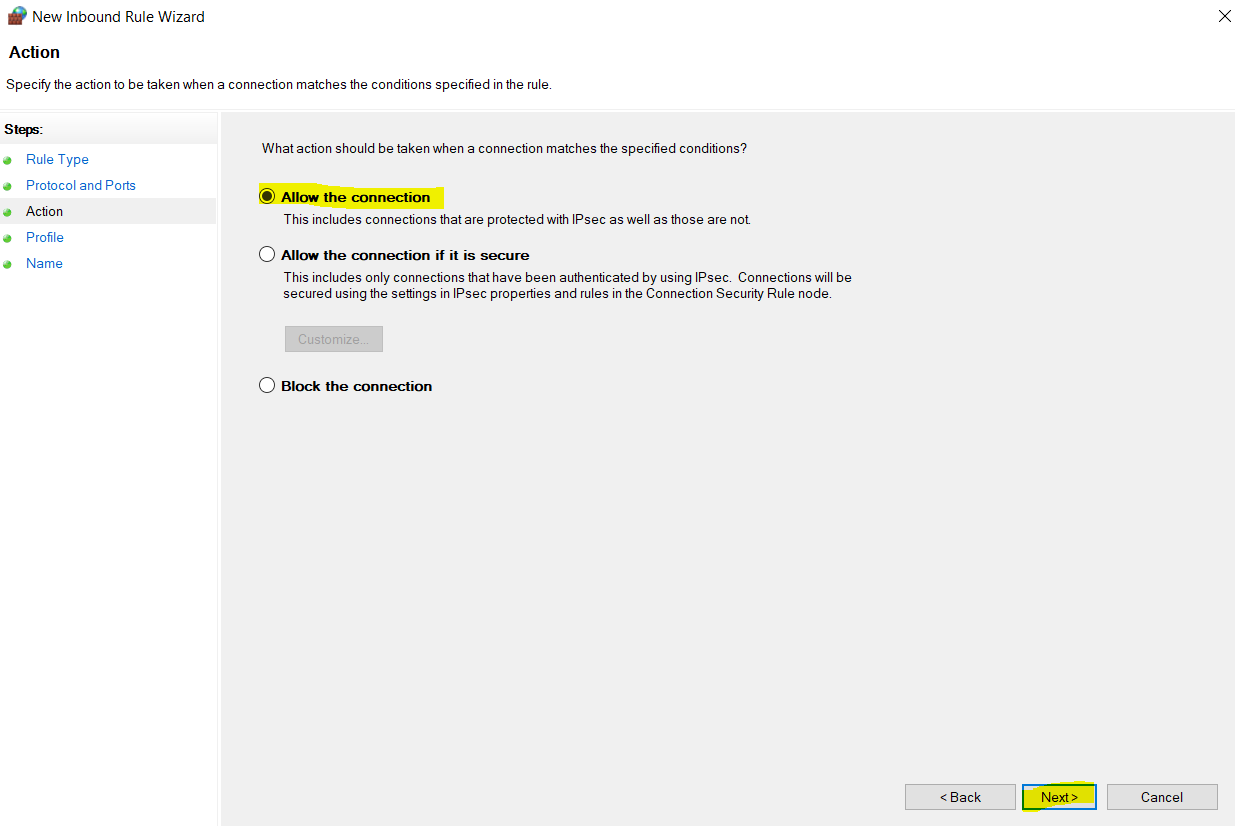
8555into the Specific local ports field. Click Next. - Choose to Allow the connection and click Next.
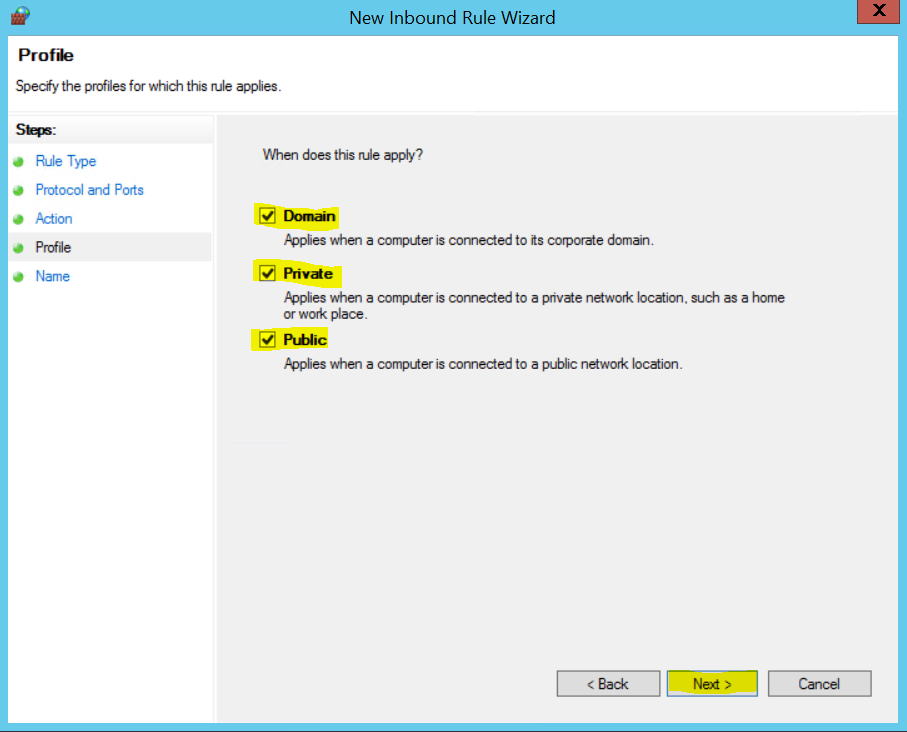
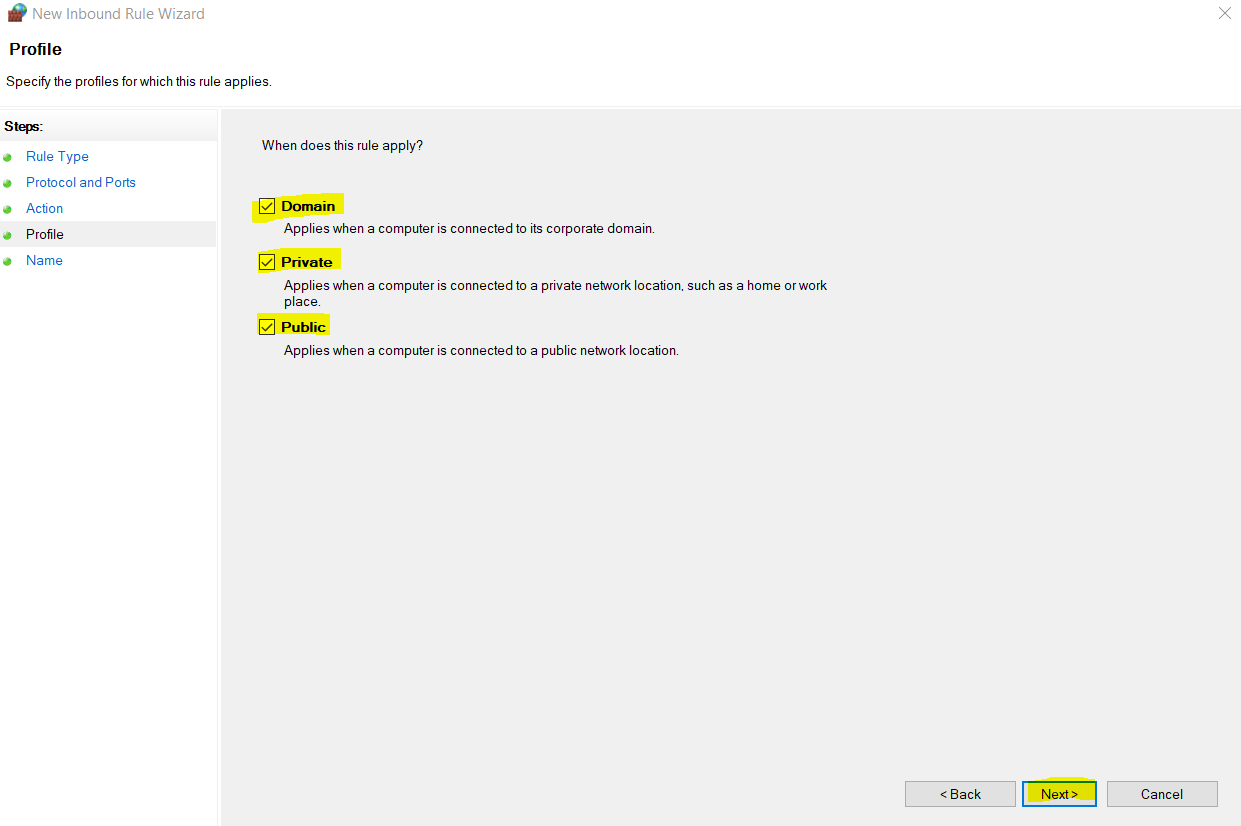
- Select the networks/profiles from where clients connect to GFI FaxMaker and click Next.
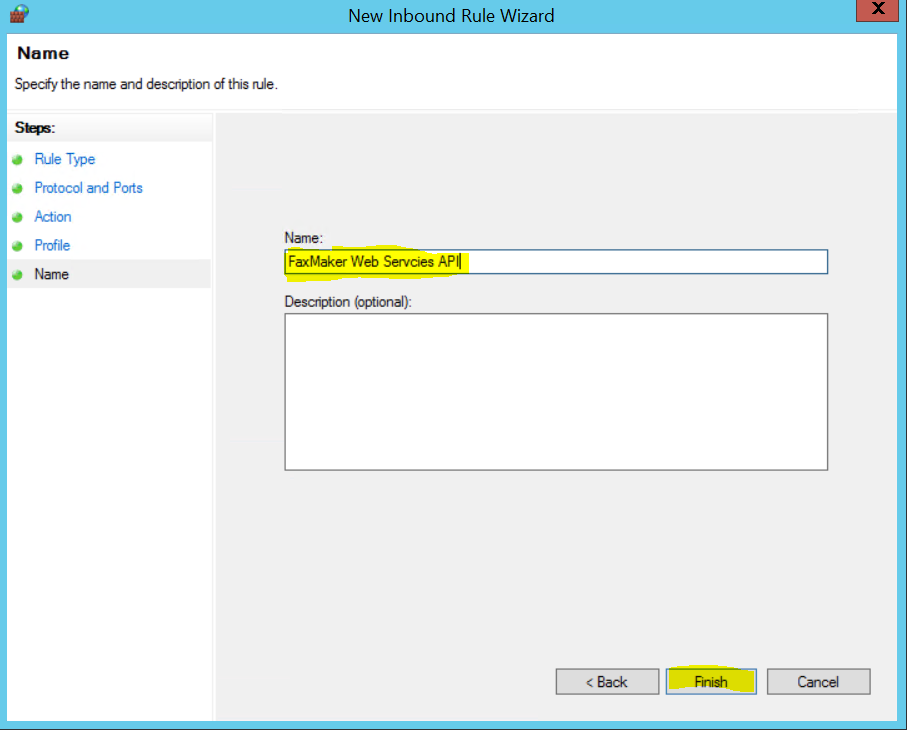
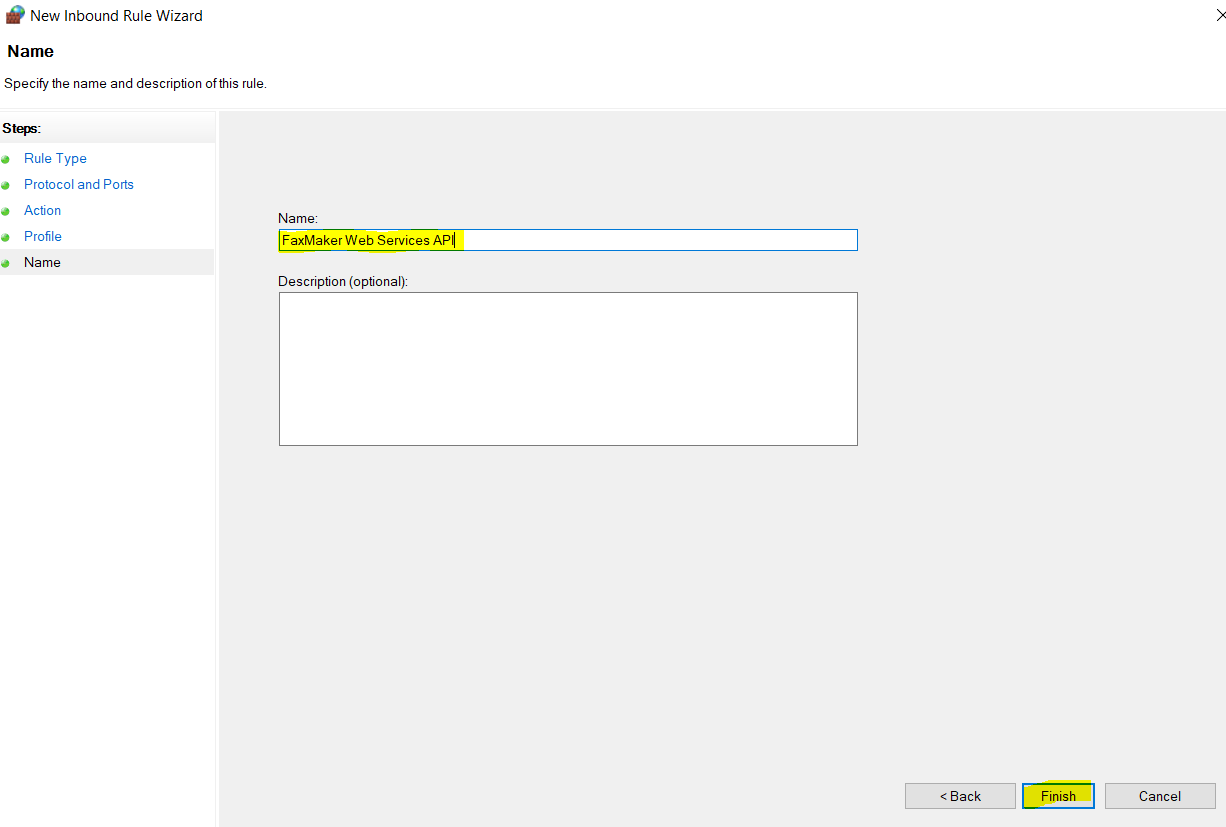
- Type
FaxMaker Web Services APIinto the Name field and click Finish.
Follow these steps when Installing FaxMaker In Windows 10, 8 and 7
- Open Windows Search, type
firewallin and choose Windows Firewall. - Click Advanced settings. Administrator permissions are required to proceed.
- In the Windows Firewall with Advanced Security box, click Inbound Rules, and in the right pane, click New Rule.
- Choose Port and click Next.
- Select TCP and type
8555into the Specific local ports field, Click Next. - Choose to Allow the connection and click Next.
- Select the networks/profiles from where clients connect to GFI FaxMaker and click Next.
- Type
FaxMaker Web Services APIinto the Name field and Click Finish.
Installation Continued
Note: When GFI FaxMaker is installed on the Microsoft® Exchange server, skip over to step 5.
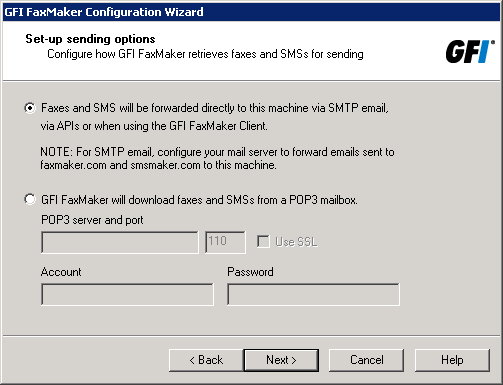
- When GFI FaxMaker is not installed on the same machine running Microsoft®Exchange, the mail server options need to be configured. Choose how to forward faxes and SMS to GFI FaxMaker and Click Next to continue.
|
Option |
Description |
|
Faxes and SMS will be forwarded directly to this machine via SMTP email, via APIs or when using the GFI FaxMaker Client. |
Select this option when using any of the following methods to send faxes:
Note: Faxes & SMS cannot be sent via an SMTP mail server when GFI FaxMaker is installed on Windows 10, 8 or 7. For additional information refer to Routing Faxes or SMS on Windows 10, 8 or 7 |
|
GFI FaxMaker will download faxes and SMSs from a POP3 mailbox |
Select this option if GFI FaxMaker downloads fax/SMS from a dedicated POP3 mailbox. For additional information, refer to Retrieving Faxes and SMS From a POP3 Mailbox. Specify the details of the dedicated POP3 mailbox. Important: Ensure that there are no emails in the mailbox and that it is dedicated to GFI FaxMaker only. Any emails in the inbox are downloaded by GFI FaxMaker and permanently deleted. |
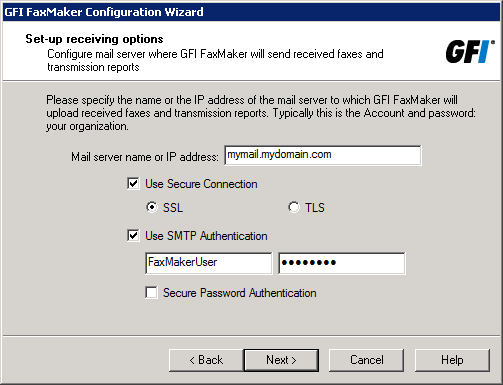
- Specify mail server details where GFI FaxMaker forwards any received emails.
Option
Description
Mail server name or IP address
Enter the name or IP address of the mail server to which upload received faxes.
Use Secure Connection
Choose this option when the mail server requires a secure connection. Choose the type of encryption needed: SSL or TLS.
Use SMTP Authentication
Instructs GFI FaxMaker to connect to the mail server using specific user credentials. Enter credentials in the Account and Password text boxes. Select Secure Password Authentication if required by the mail server.
- Specify the Country code of the country where the fax lines are connected. This is used by GFI FaxMaker to determine the appropriate number to dial (for example, removes the country code for faxes within the same country). Click Next.
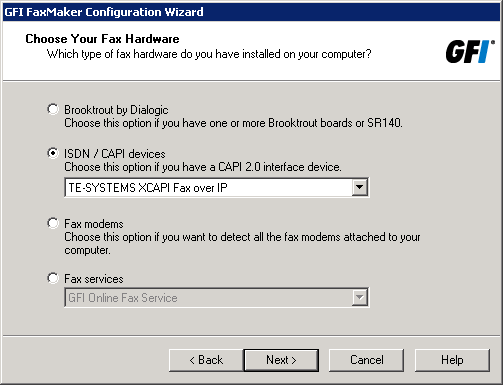
- Select the fax devices to use with GFI FaxMaker.
Fax device
Description
Brooktrout by Dialogic
Select when using one or more Brooktrout devices or SR140 Fax software. After clicking Next, click Yes to install driver software for the device, or click No to use other drivers. For additional information, refer to articles about Brooktrout Fax Board and Brooktrout SR140.
ISDN /CAPIdevices
TE-SYSTEMS XCAPI Fax over IP - Instructs GFI FaxMaker to use the TE-SYSTEMS XCAPI Fax over IP solution. Click Yes to install XCAPI software to integrate the system with Fax over IP or ISDN controller, or click No to use other drivers.
For additional information, refer to Installing XCAPI.
Other devices - Instructs GFI FaxMaker to use a device that is not TE-SYSTEMS XCAPI Fax over IP.
Fax modems
Select this option to detect fax modem drivers automatically and click Next. GFI FaxMaker will attempt to detect Microsoft® Fax drivers and other modems already installed on the machine.
Fax services
Select to use an online fax service. Click Next to enter the fax service details.
-
Important: Ensure that all devices are correctly installed before proceeding. For some devices, you may be prompted to configure the fax lines. For additional information refer to Installing fax devices.
-
Important: Ensure that all devices are correctly installed before proceeding. For some devices, you may be prompted to configure the fax lines. For additional information refer to Installing fax devices.
- Set up your fax lines in GFI FaxMaker. Click Configure lines... to launch the Add fax line tool. Use this tool to add your fax lines. For additional information refer to Adding new fax lines.
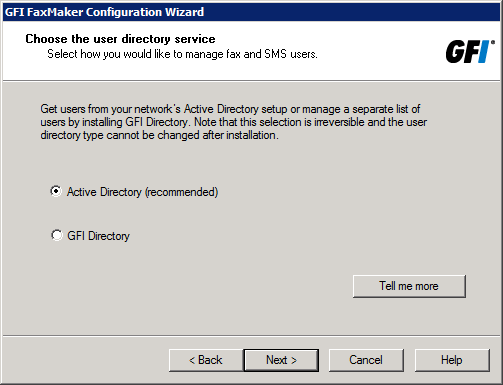
- When installing GFI FaxMaker for the first time on a server that is part of an Active Directory environment, pick a user directory service to use.
- Choose Active Directory to add users from Active Directory, or GFI Directory to install and manage users in GFI Directory. To help you choose, refer to Choosing a user directory service.
- If GFI FaxMaker is not installed in an Active Directory environment, GFI Directory must be used and is automatically installed by the Configuration Wizard.
- If Active Directory is not found or if GFI Directory is chosen and installed the first time; the wizard prompts to create the default administrator in GFI Directory. This user is added to GFI FaxMaker, set as an administrator, and set as the default fax/SMS router. Enter the user details and click Next.
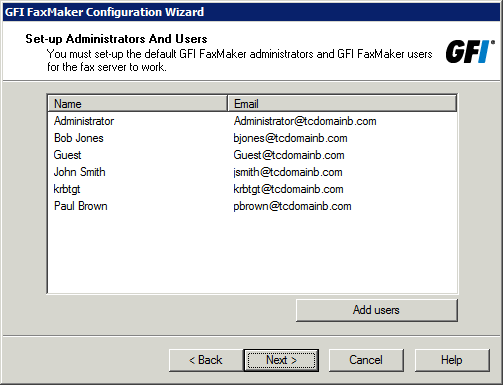
- Specify GFI FaxMaker users and administrators, depending on the user directory environment.
Environment
Description
Active Directory
GFI FaxMaker connects to Active Directory to enable you to choose users. If no fax administrators are configured, add the administrators from the Select Users or Groups dialog and click OK.
After adding administrators, you may click Add users to add fax users or click Next to proceed.
GFI Directory
When GFI Directory is installed the first time, the user specified in step 8 is automatically set as an administrator. Optionally, users may click Add users to add additional fax users. Use the Import Users tool to add users from GFI Directory or Windows® users. For further information, refer to Importing users to GFI FaxMaker.
If GFI Directory was already installed before GFI FaxMaker was installed, choose the administrators and users to add to GFI FaxMaker using the Import Users tool.
-
The wizard will now test the mail server settings. Click Test to send a test email to the configured fax administrators. Click Next to continue.
-
Note: If the test fails, the error condition will be displayed. Use the error to troubleshoot and resolve any possible issues. For additional information, refer to Email2FaxGateway test fails.
-
- GFI FaxMaker will start all the necessary services. Click Next to continue.
- Click Finish.
Confirmation
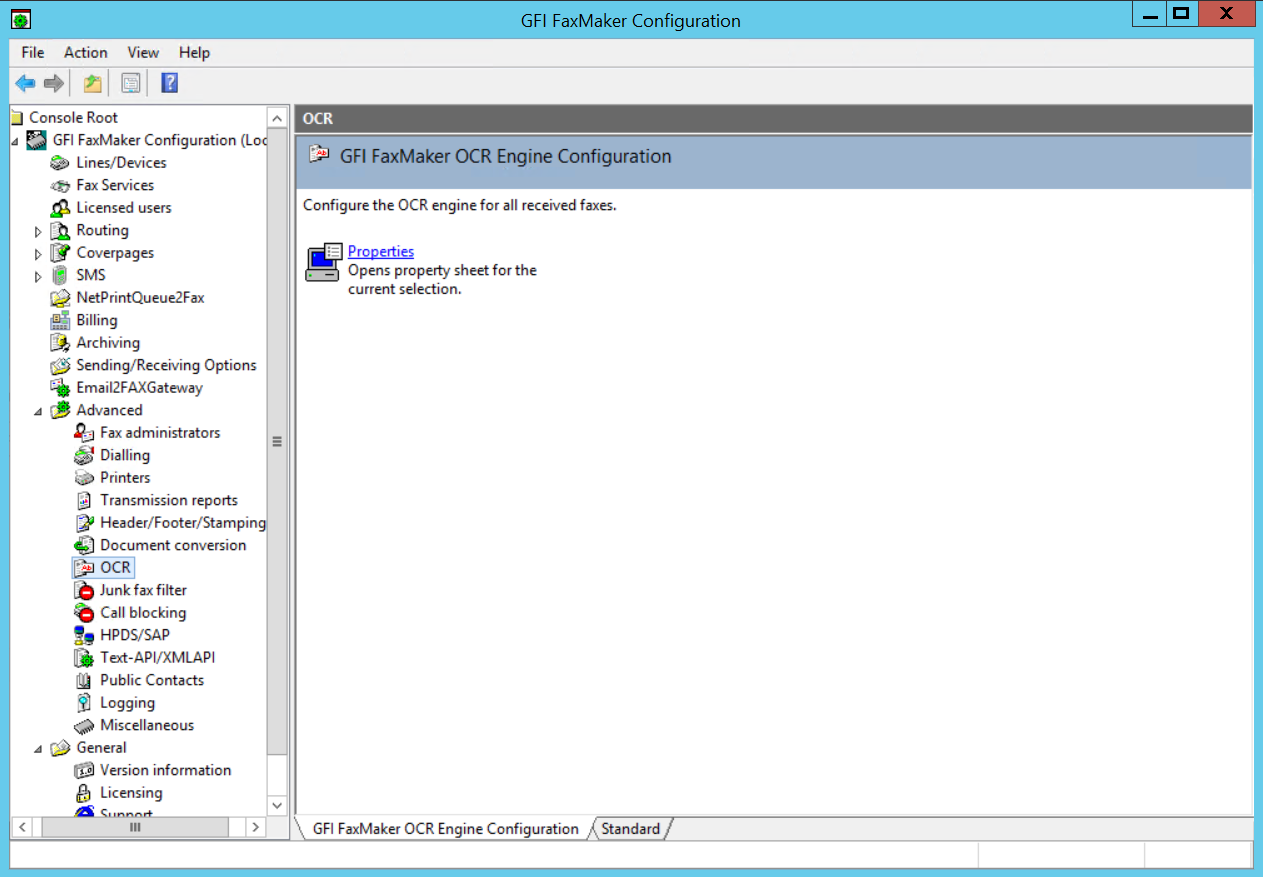
Upon completion of the wizard, installed services will start, the Configuration Wizard window will close, and the FaxMaker Configuration MMC will open and be available for use.
Priyanka Bhotika
Comments